BigData Analysis Using Azure Databricks

BigData Analysis Using Azure Databricks
BigData Analysis Using Azure Databricks
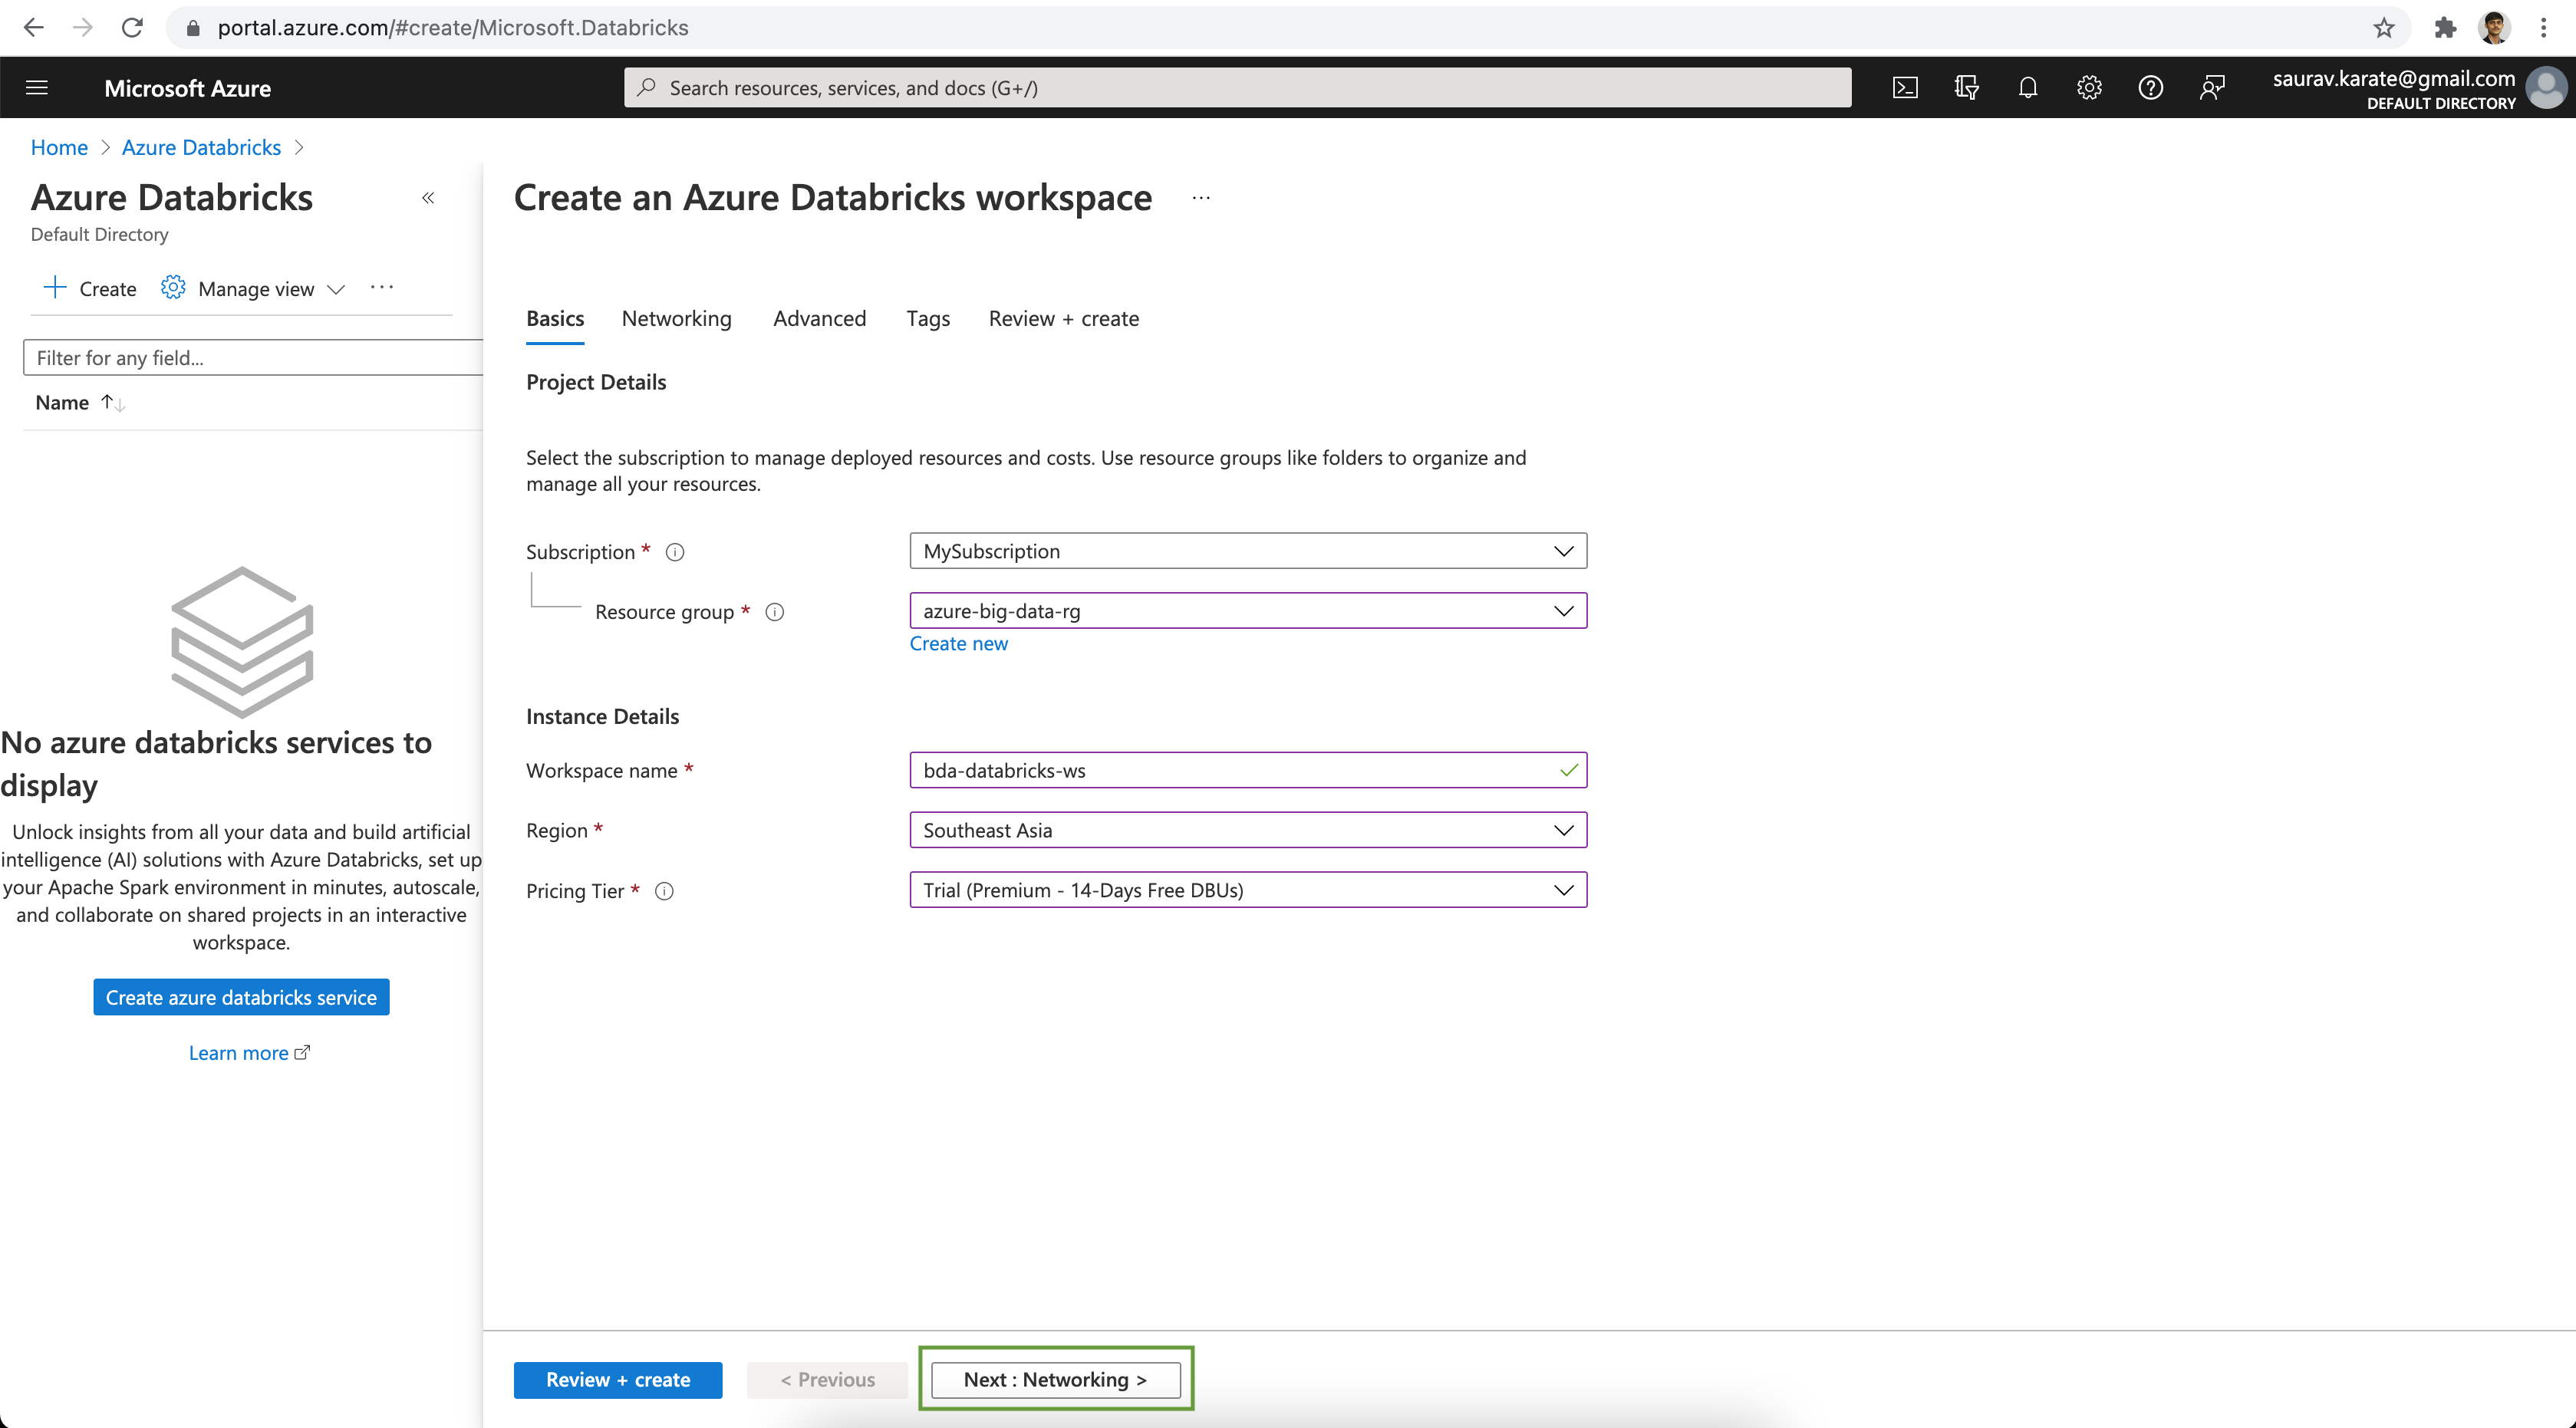
Select the Azure Subscription & Resource Group. Next add a name for the Azure Databricks Workspace. Select the Azure region as per your choice. For our demo, we are going to use Trial (Premium - 14-Days Free DBUs) Pricing Tire. Click on the Next: Networking > button.
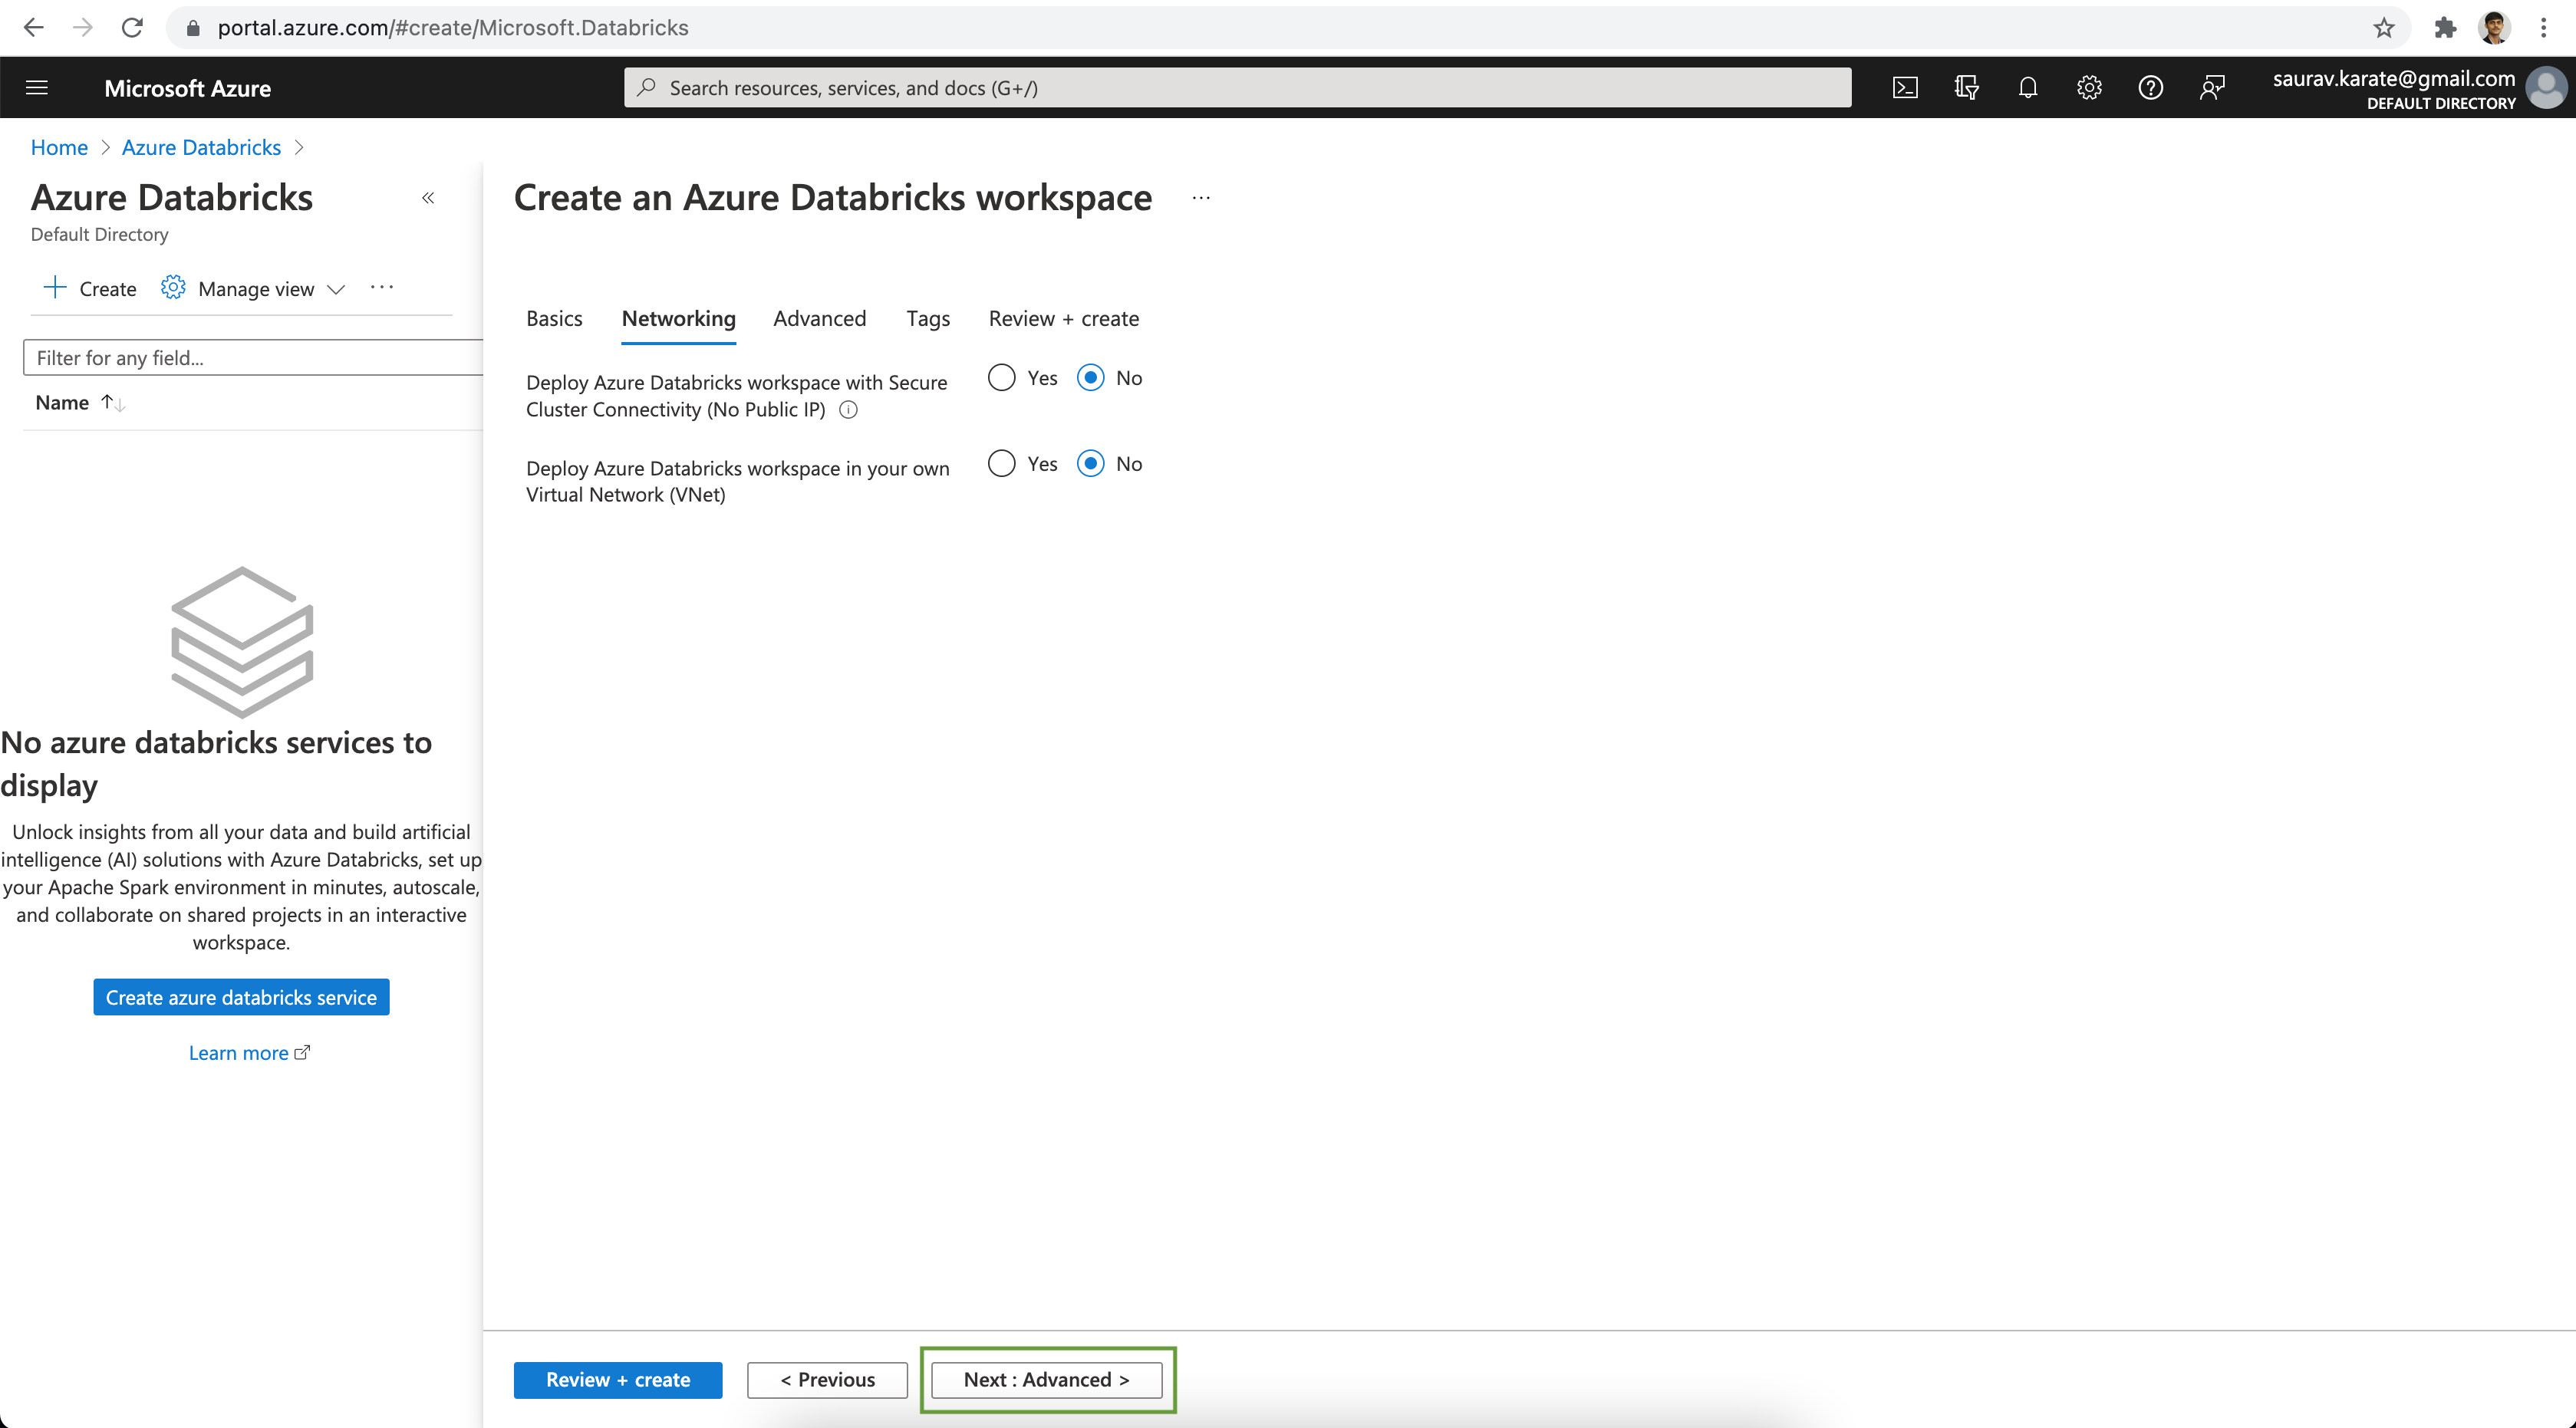
For the demo we are not going to deploy Databricks Cluster with Public IP Access. Also we will allow Databricks workspace to create & manage VNet & Subnet to deploy the cluster. Click on the Review + create button.
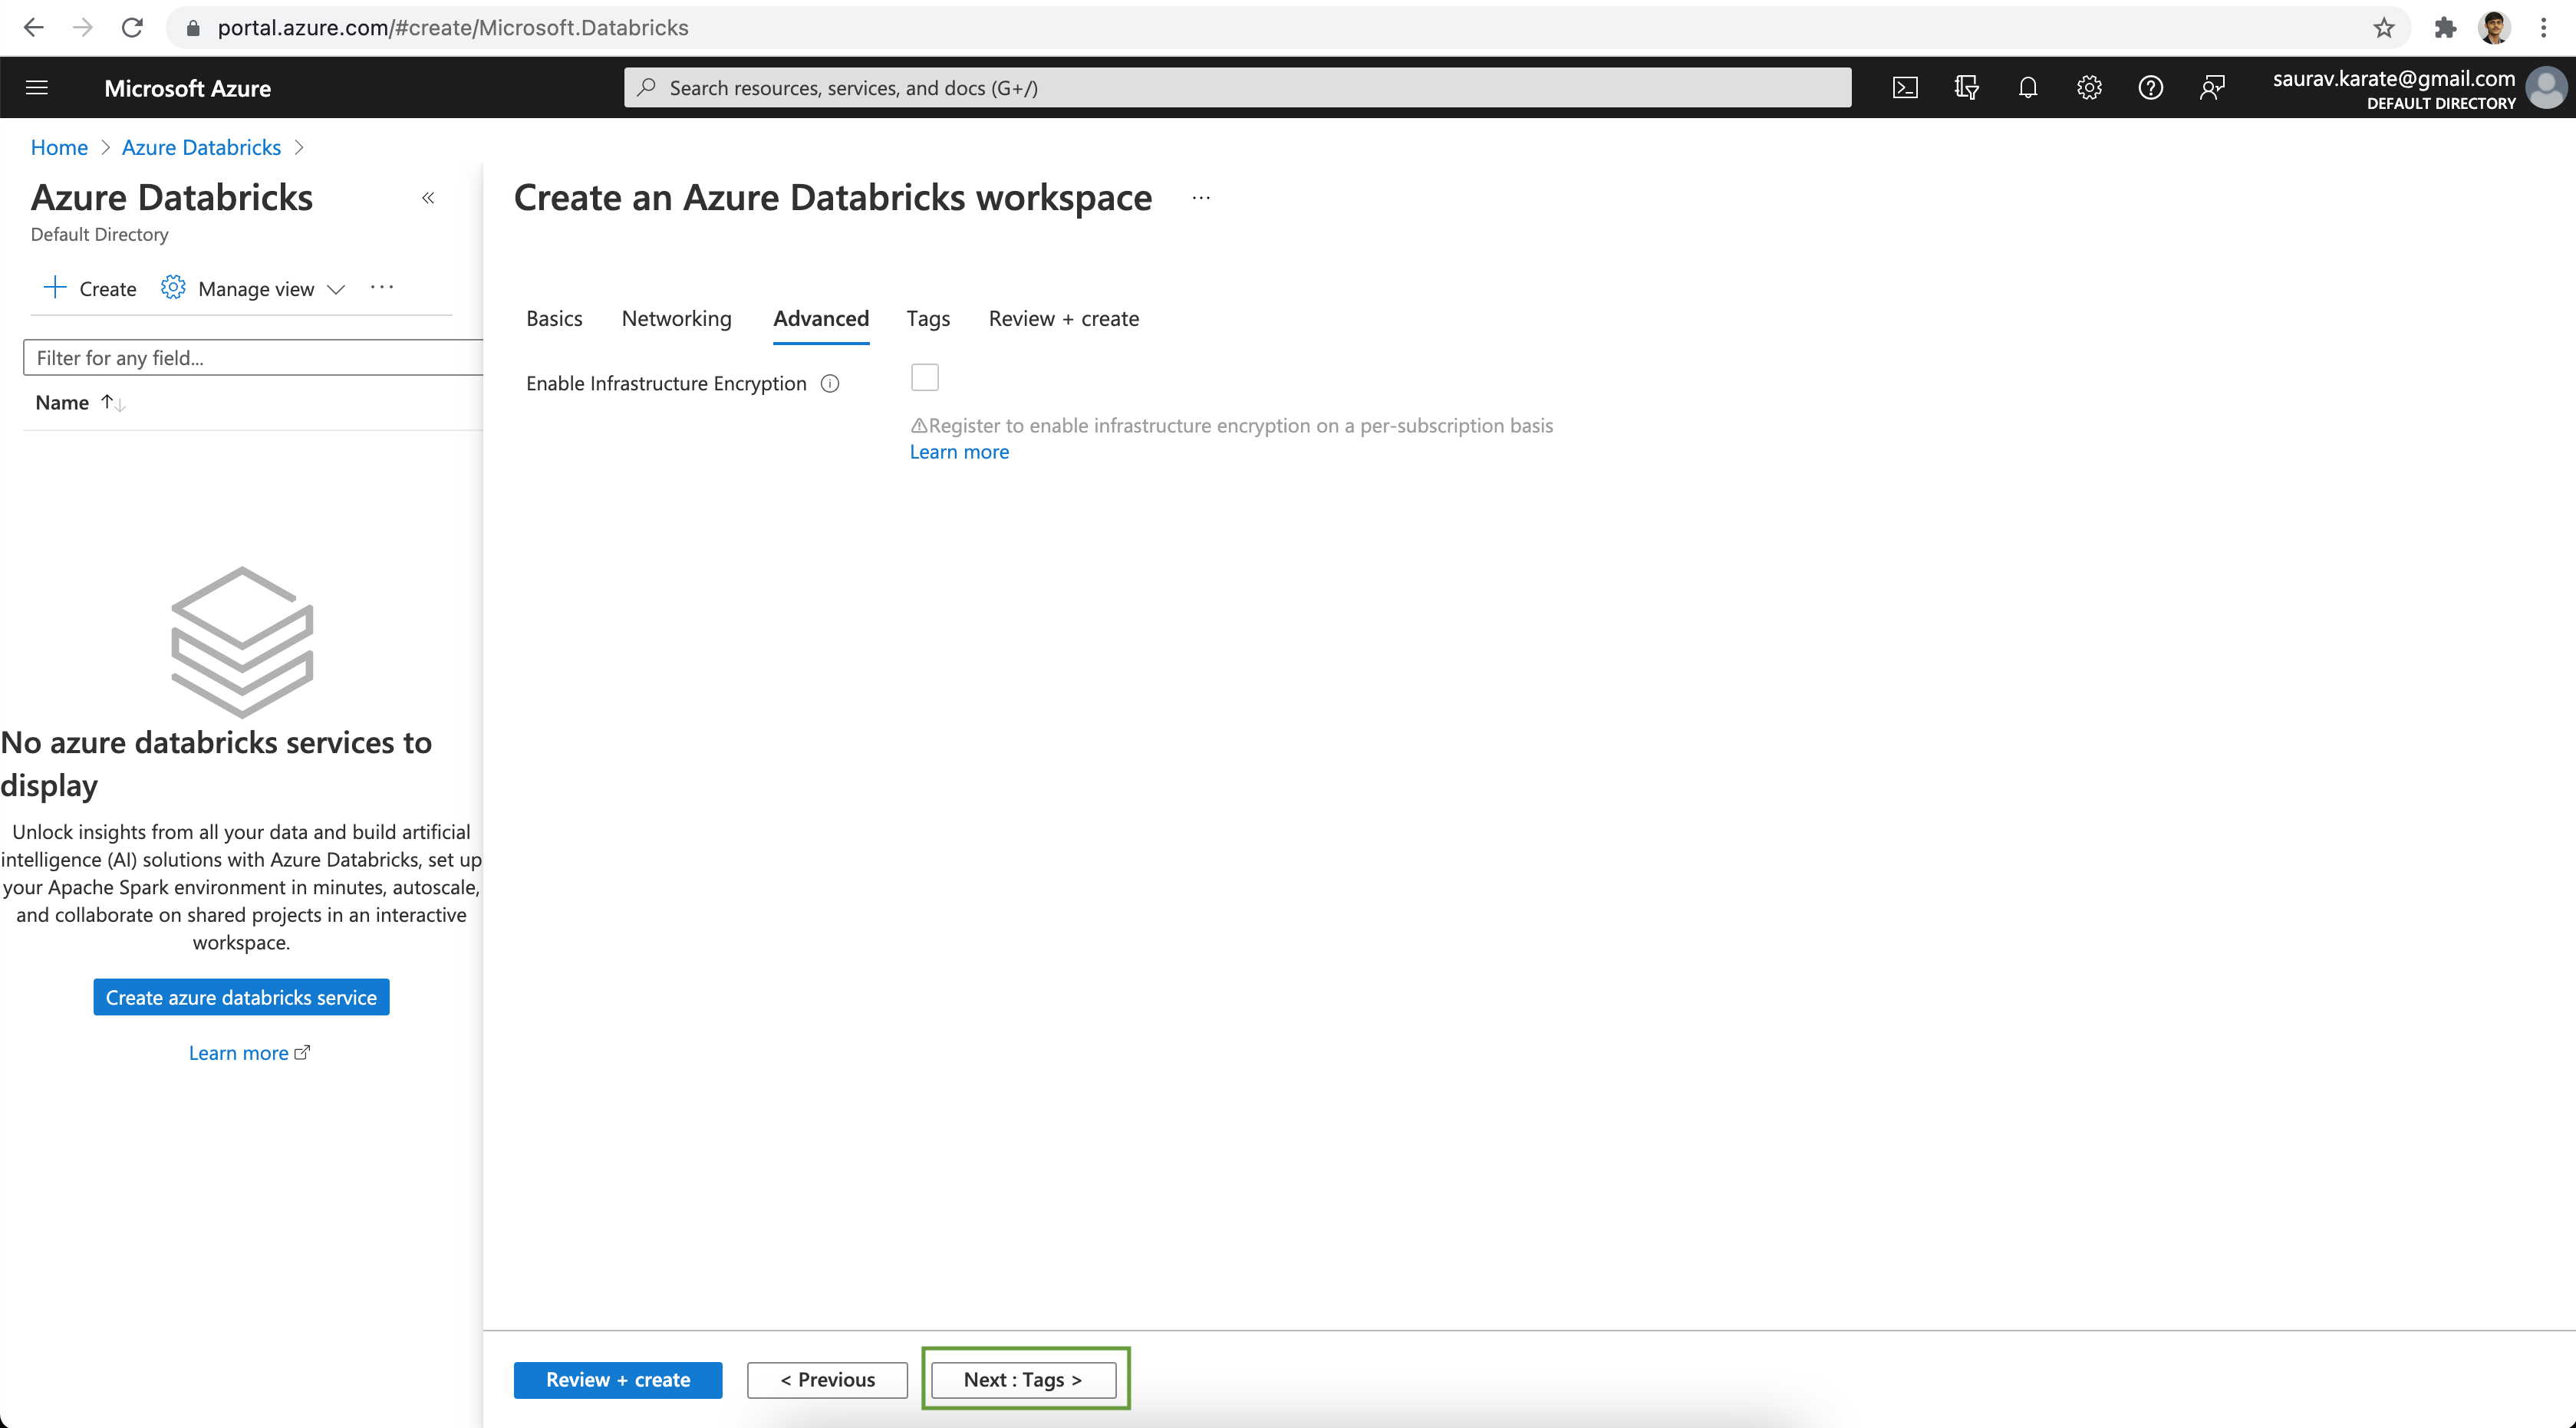
Since we are using the Free trial we will skip the Data Encryption option. Click on the Review + create button.
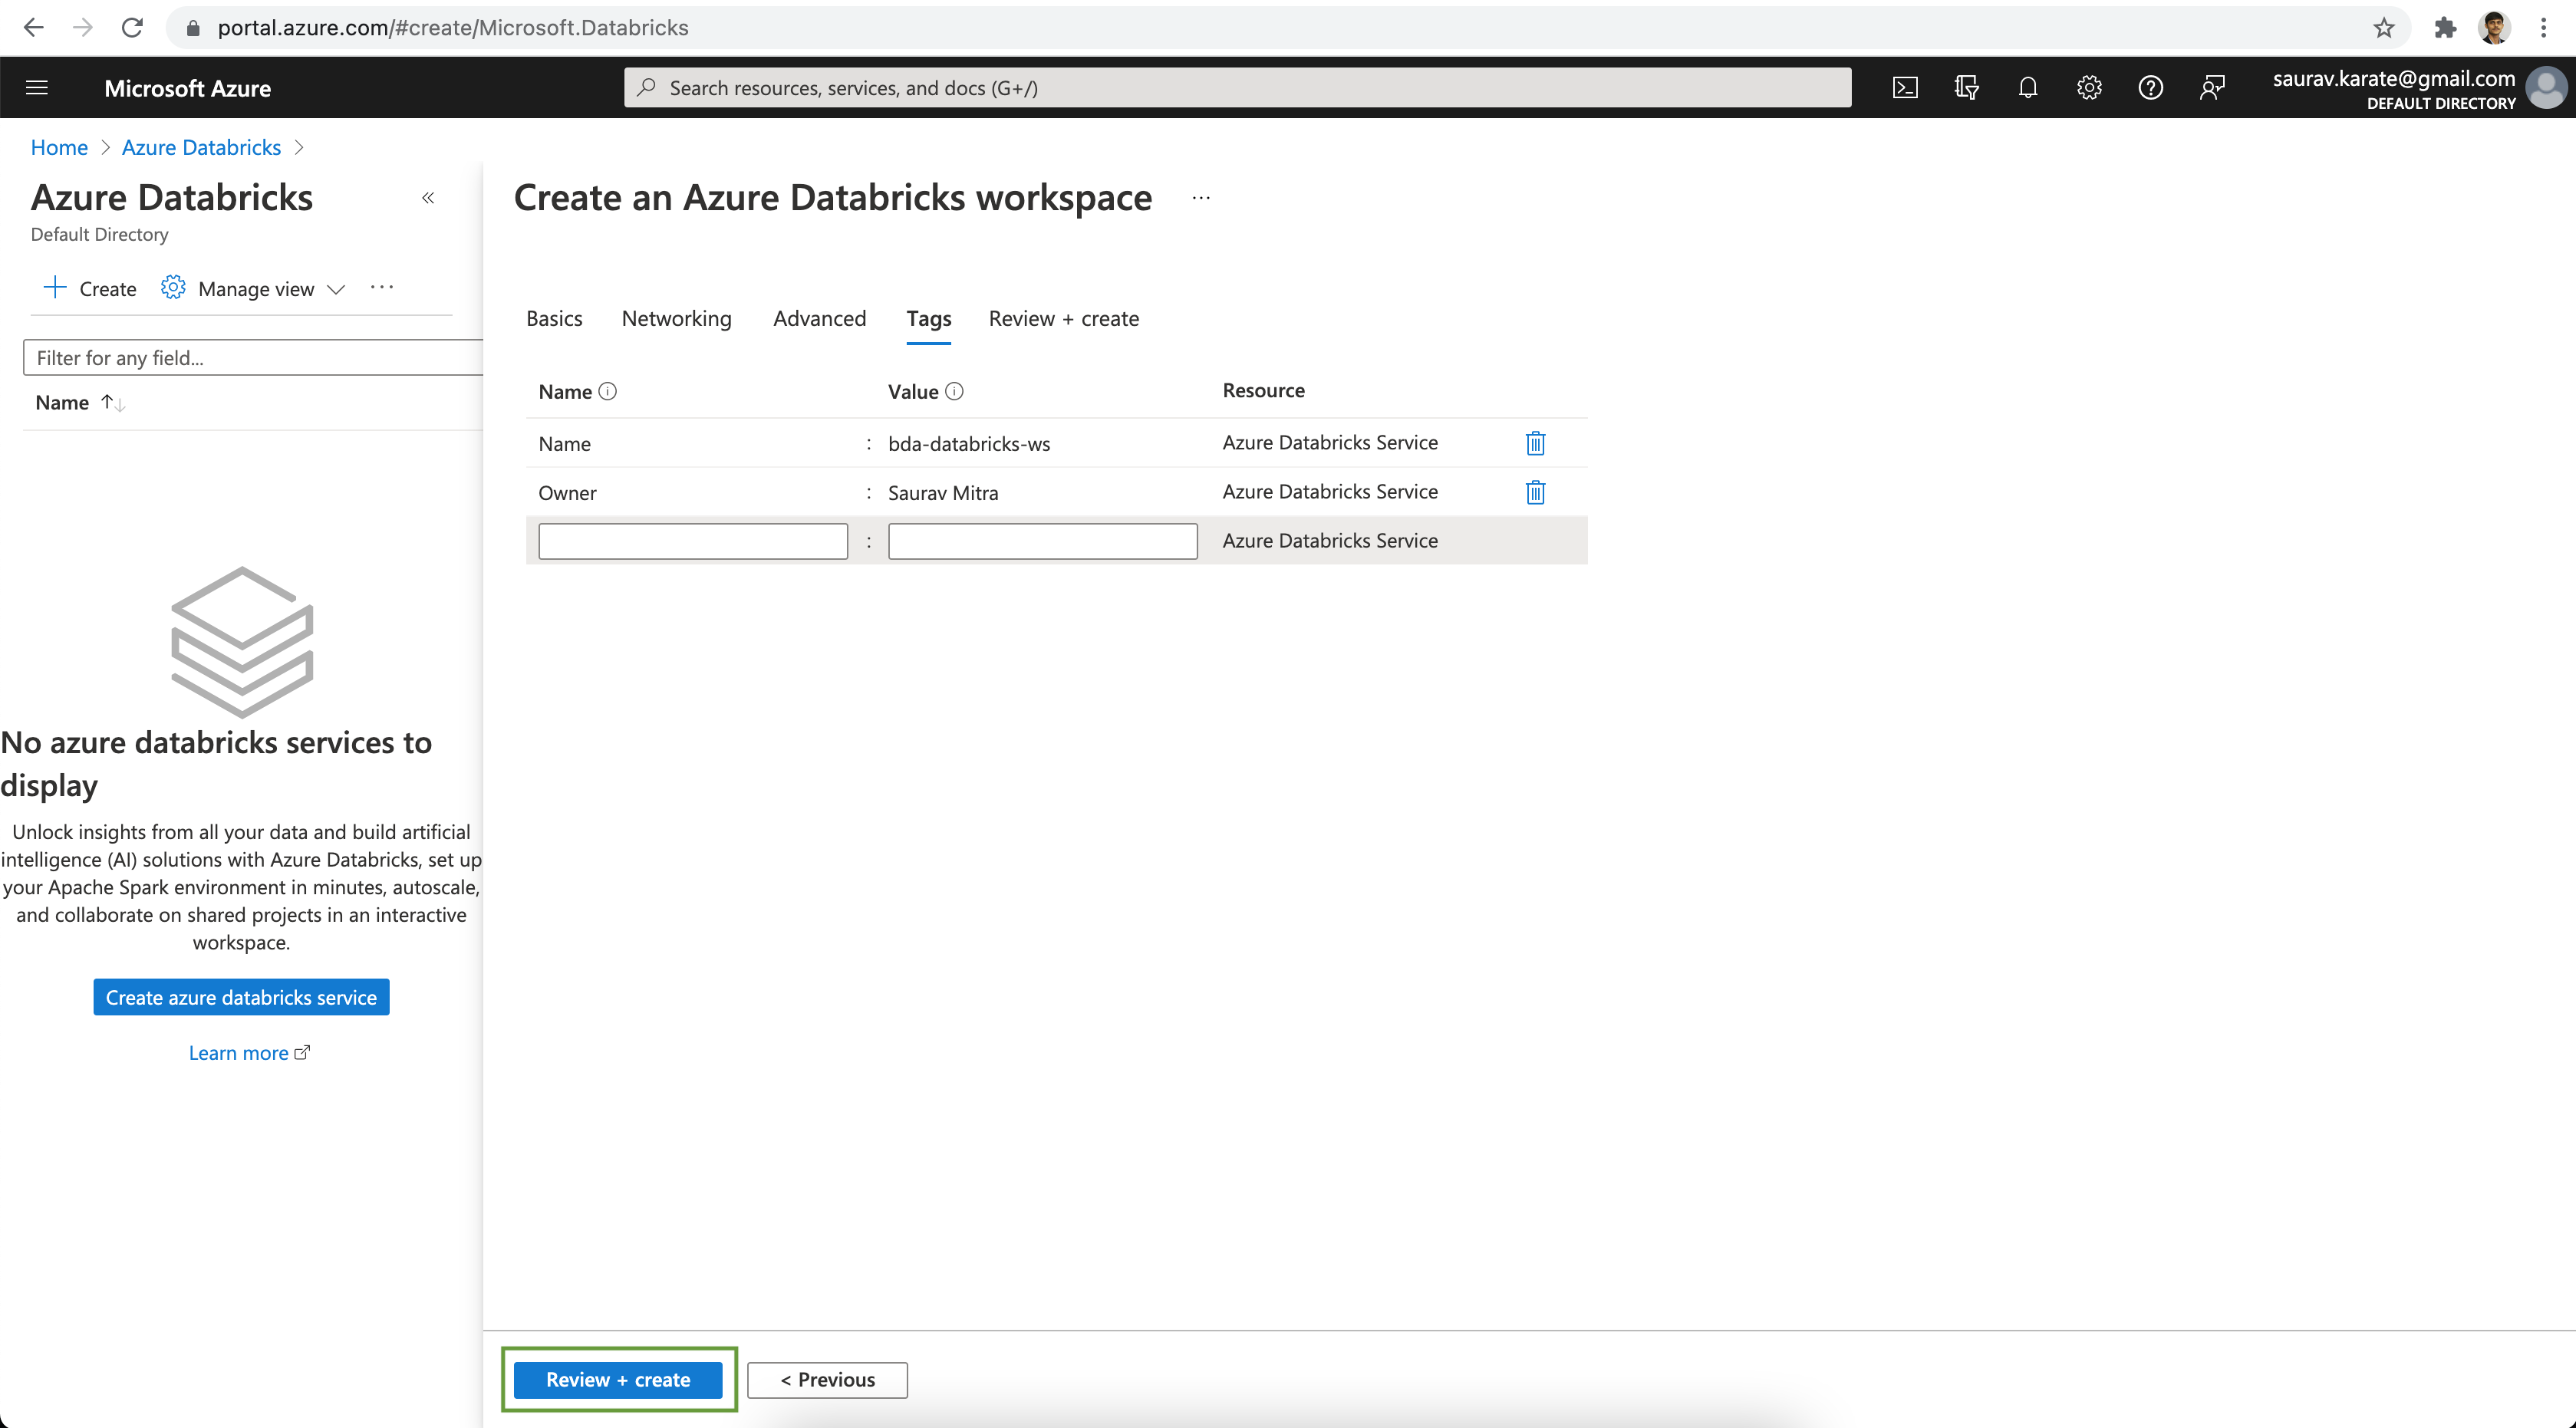
Add tags to the Azure Databricks Resource for ease of management. Click on the Review + create button.
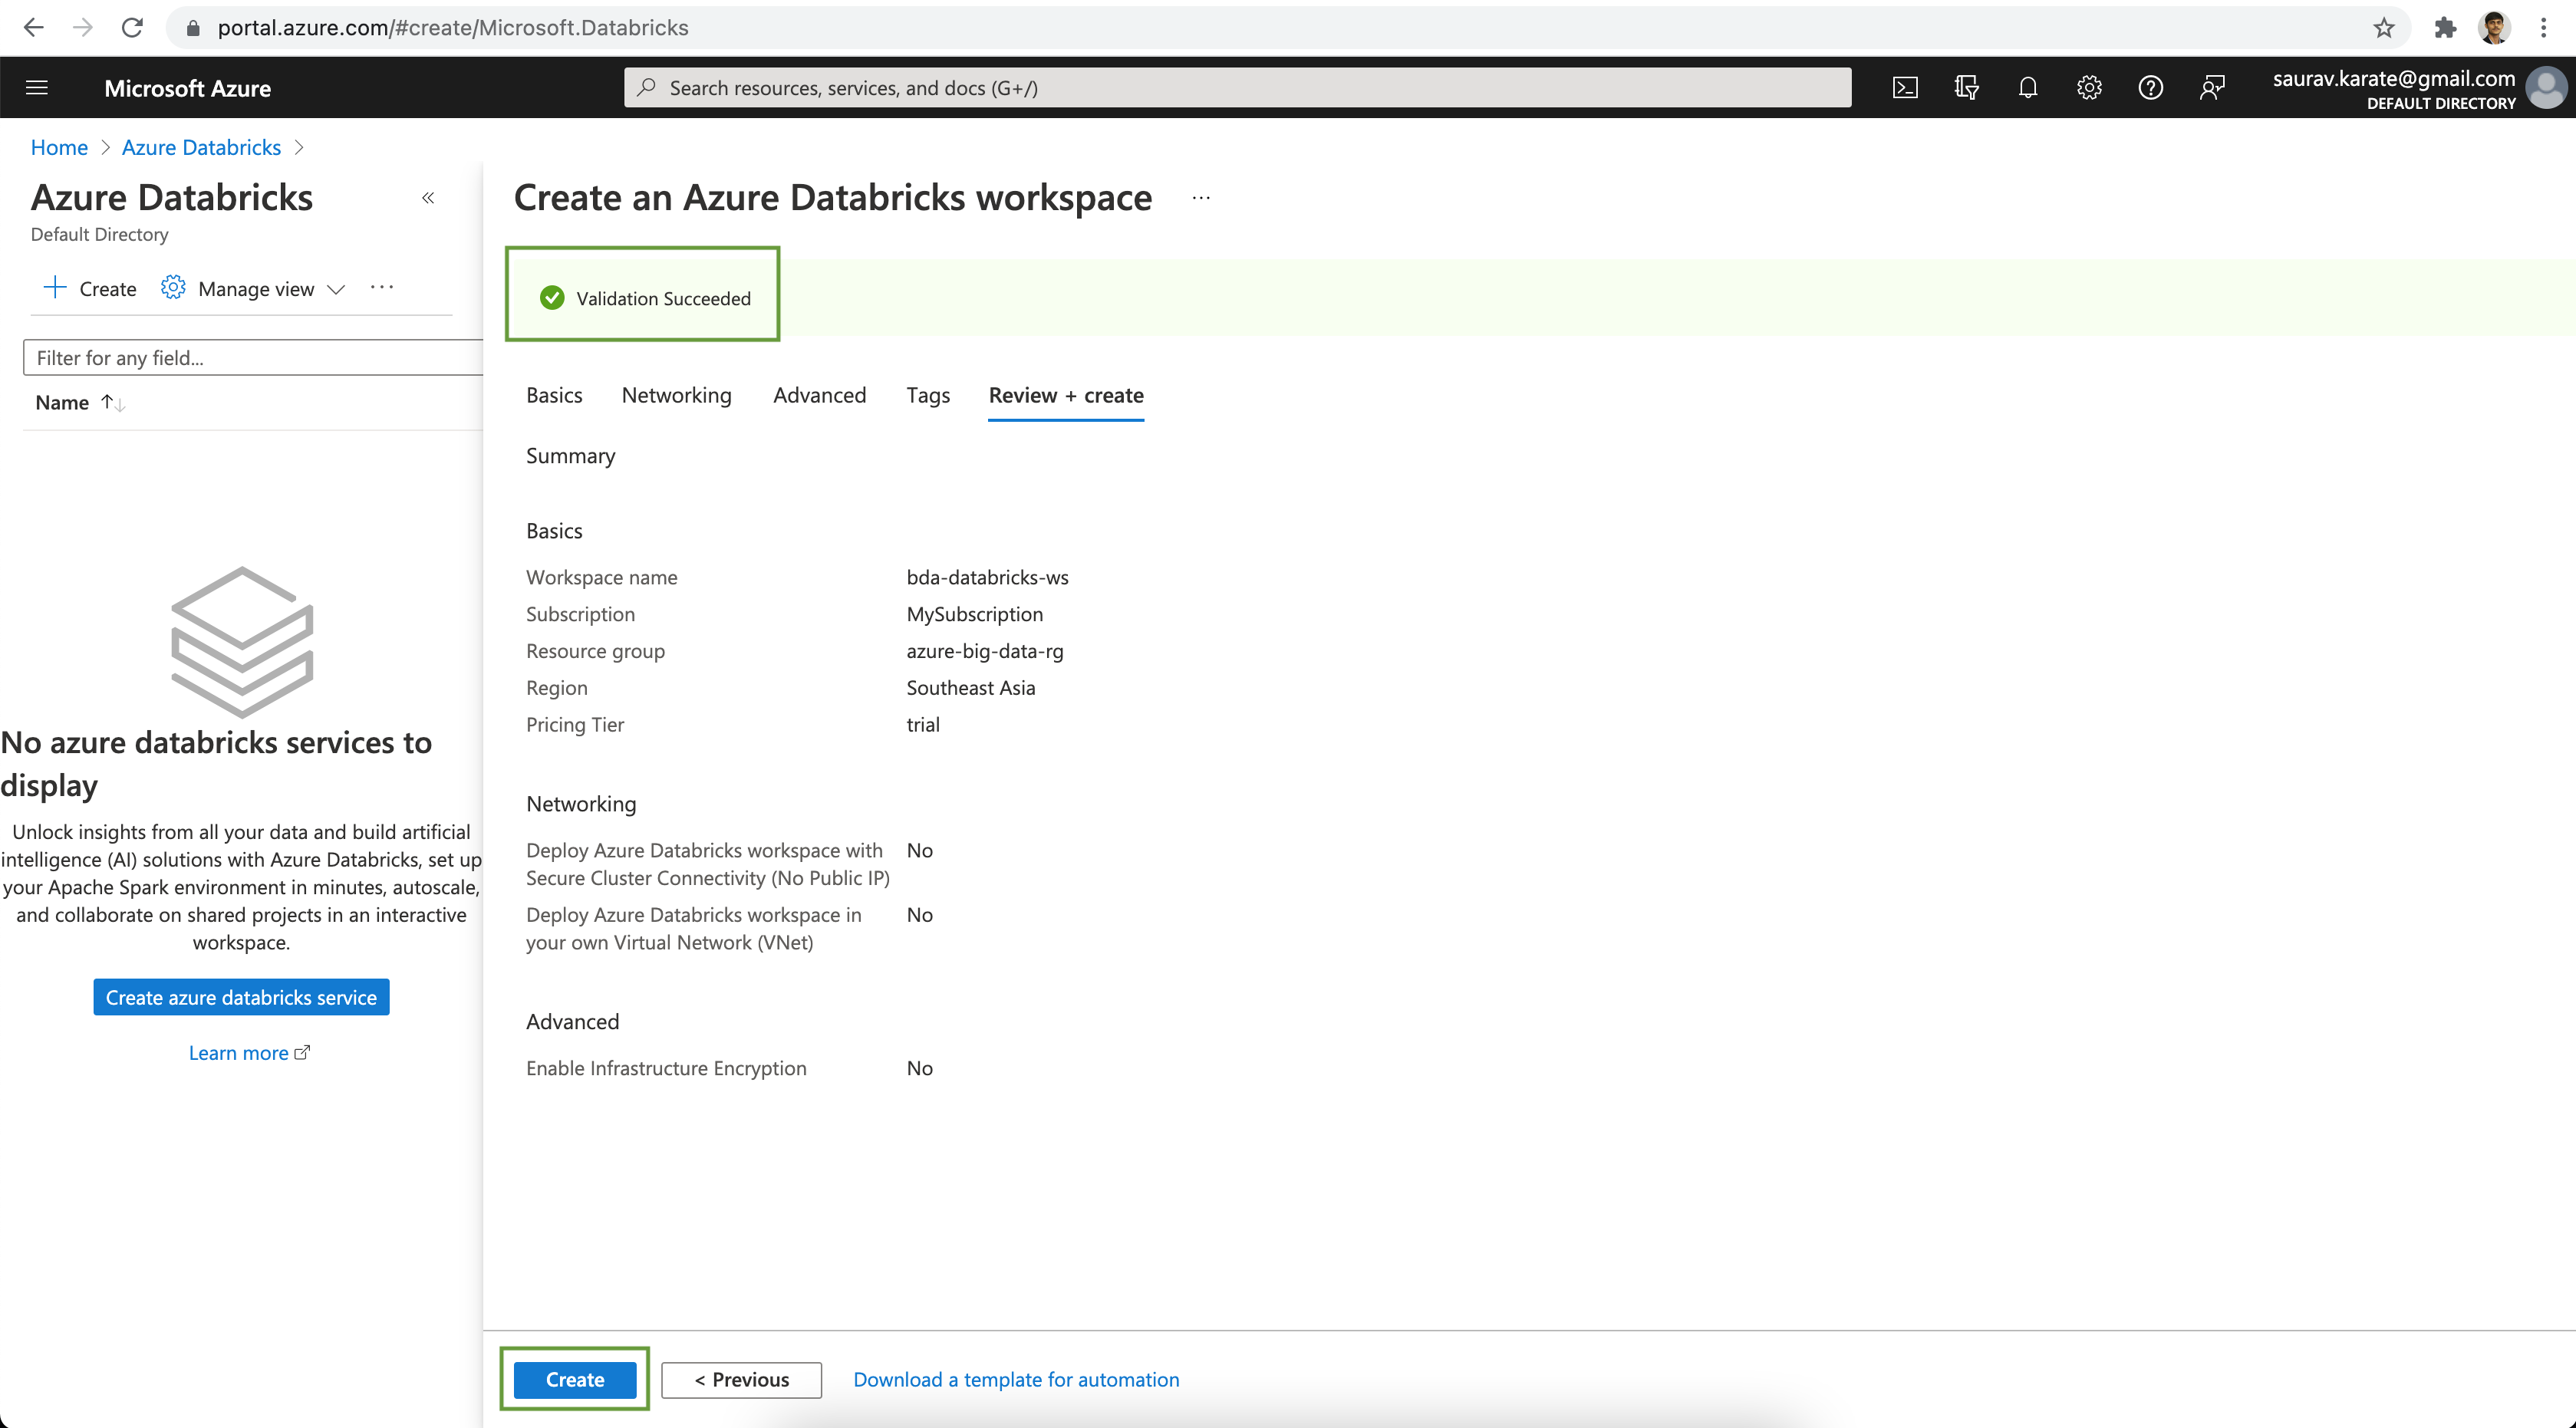
Finally review the configuration & click on the Create button.
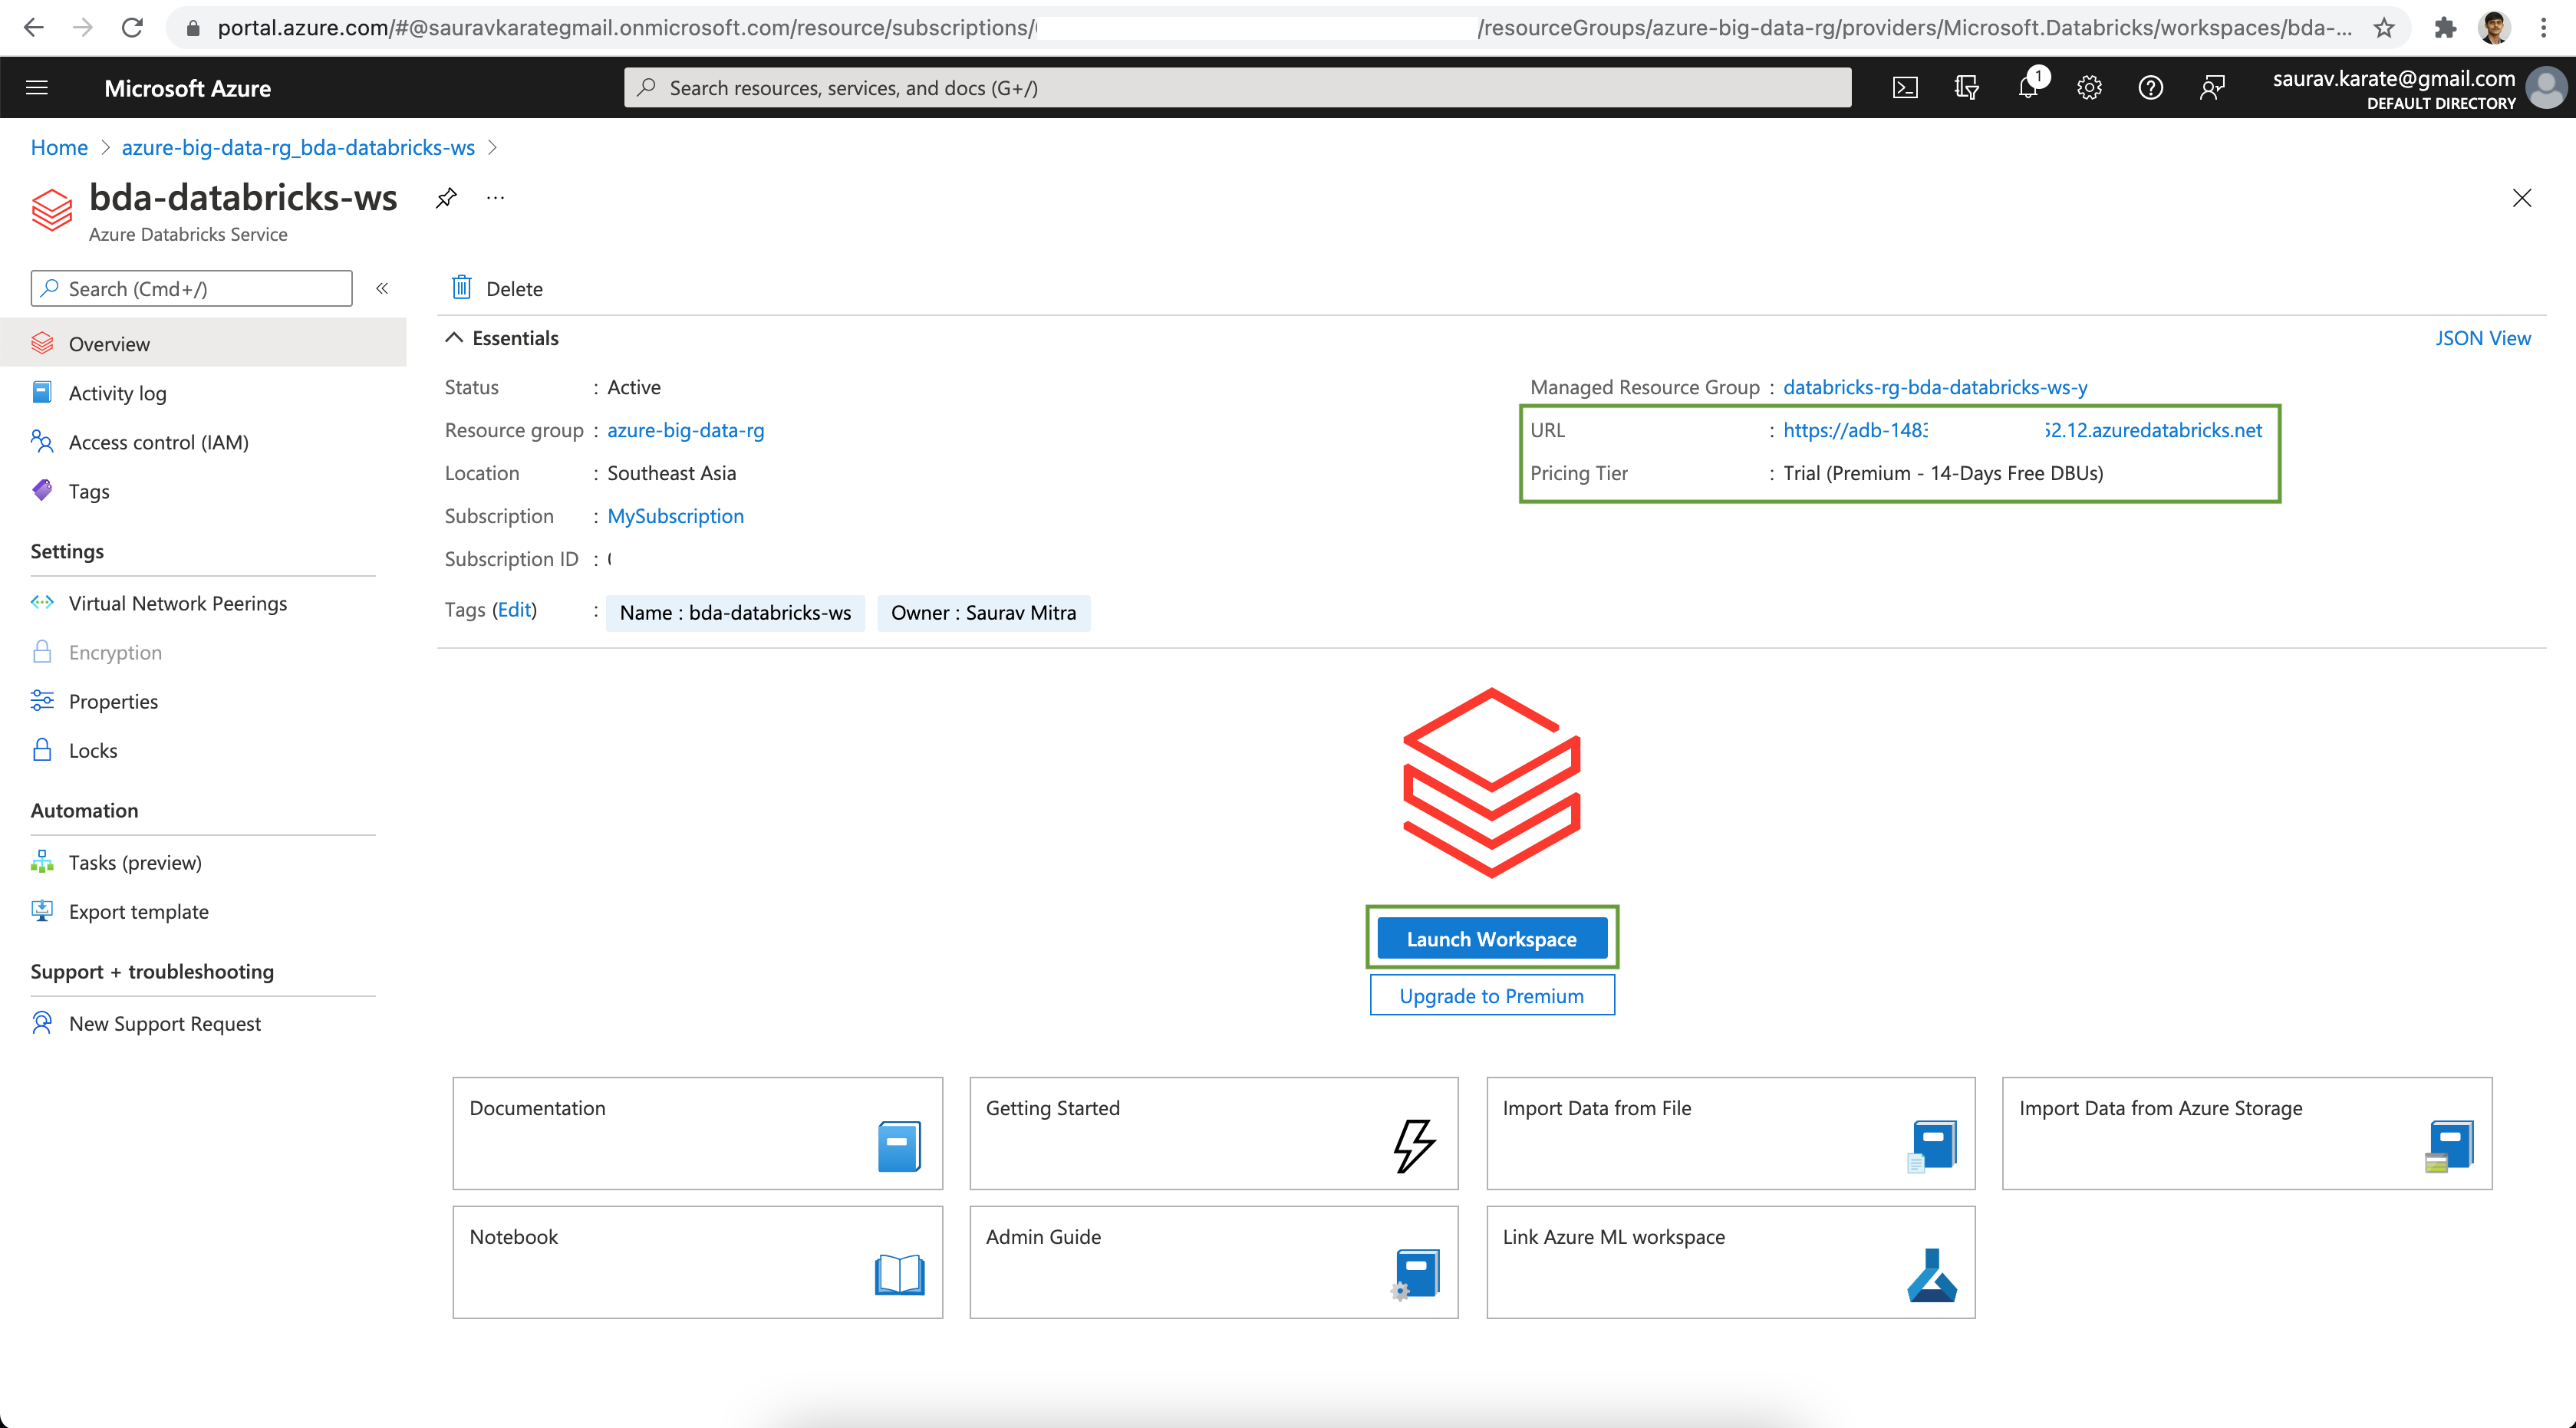
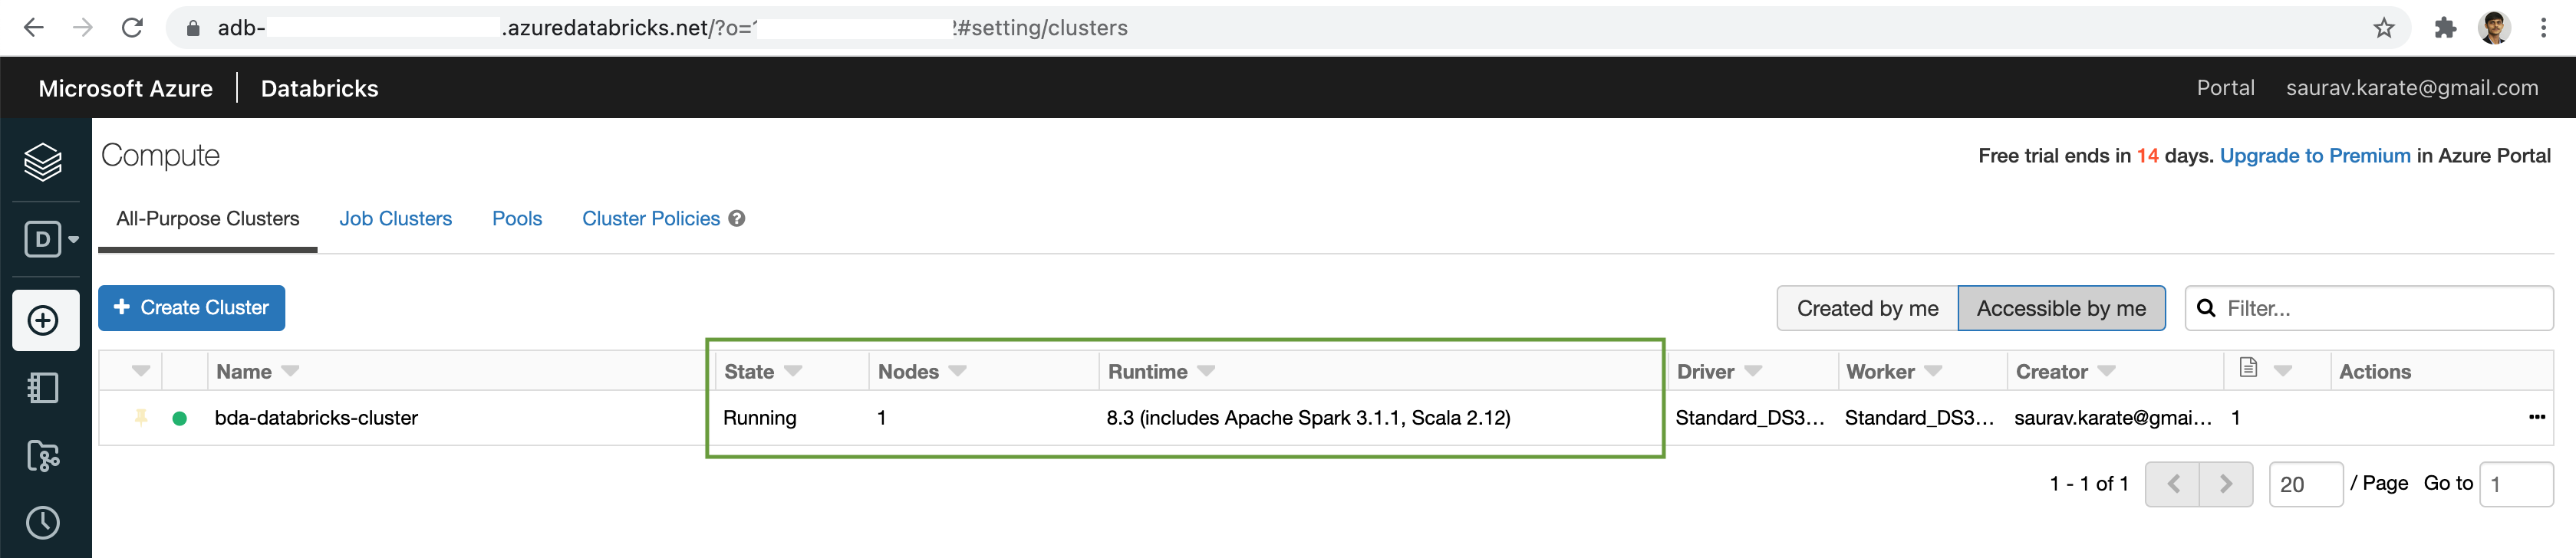
Wait for a few moment for the Azure Databricks Workspace to be Active. Next click on the Launch Workspace button. This will take us to the Databricks Console

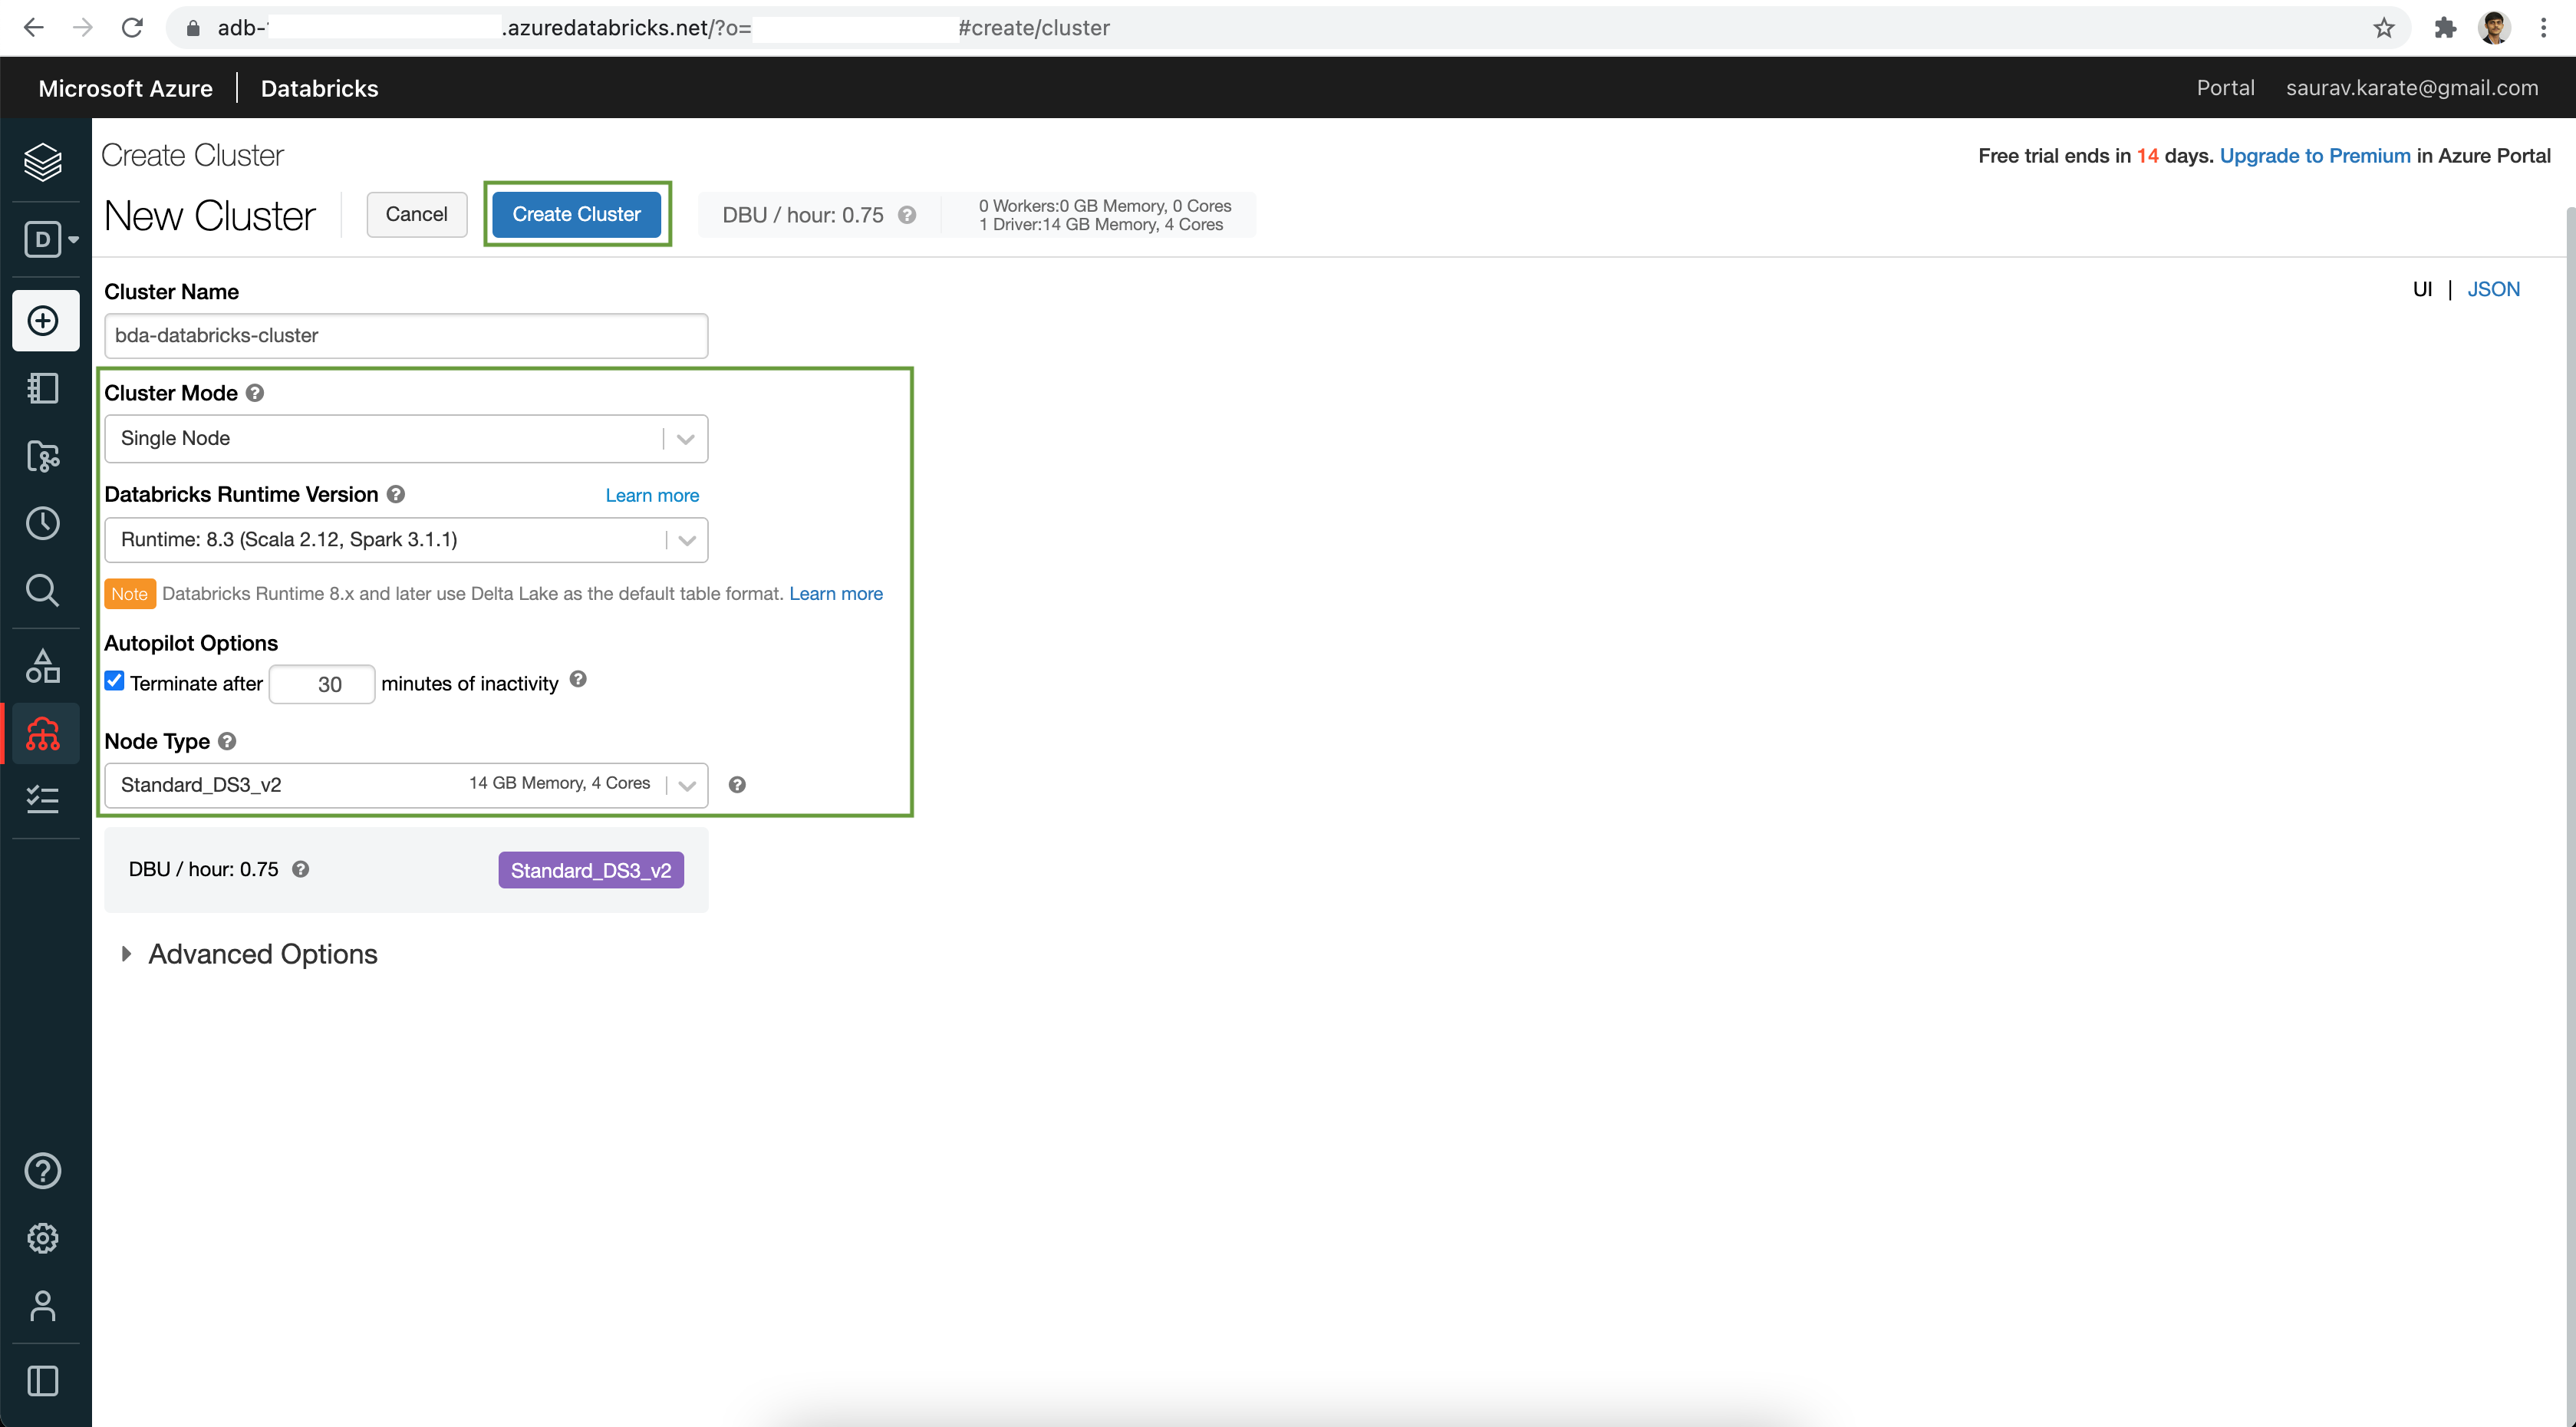

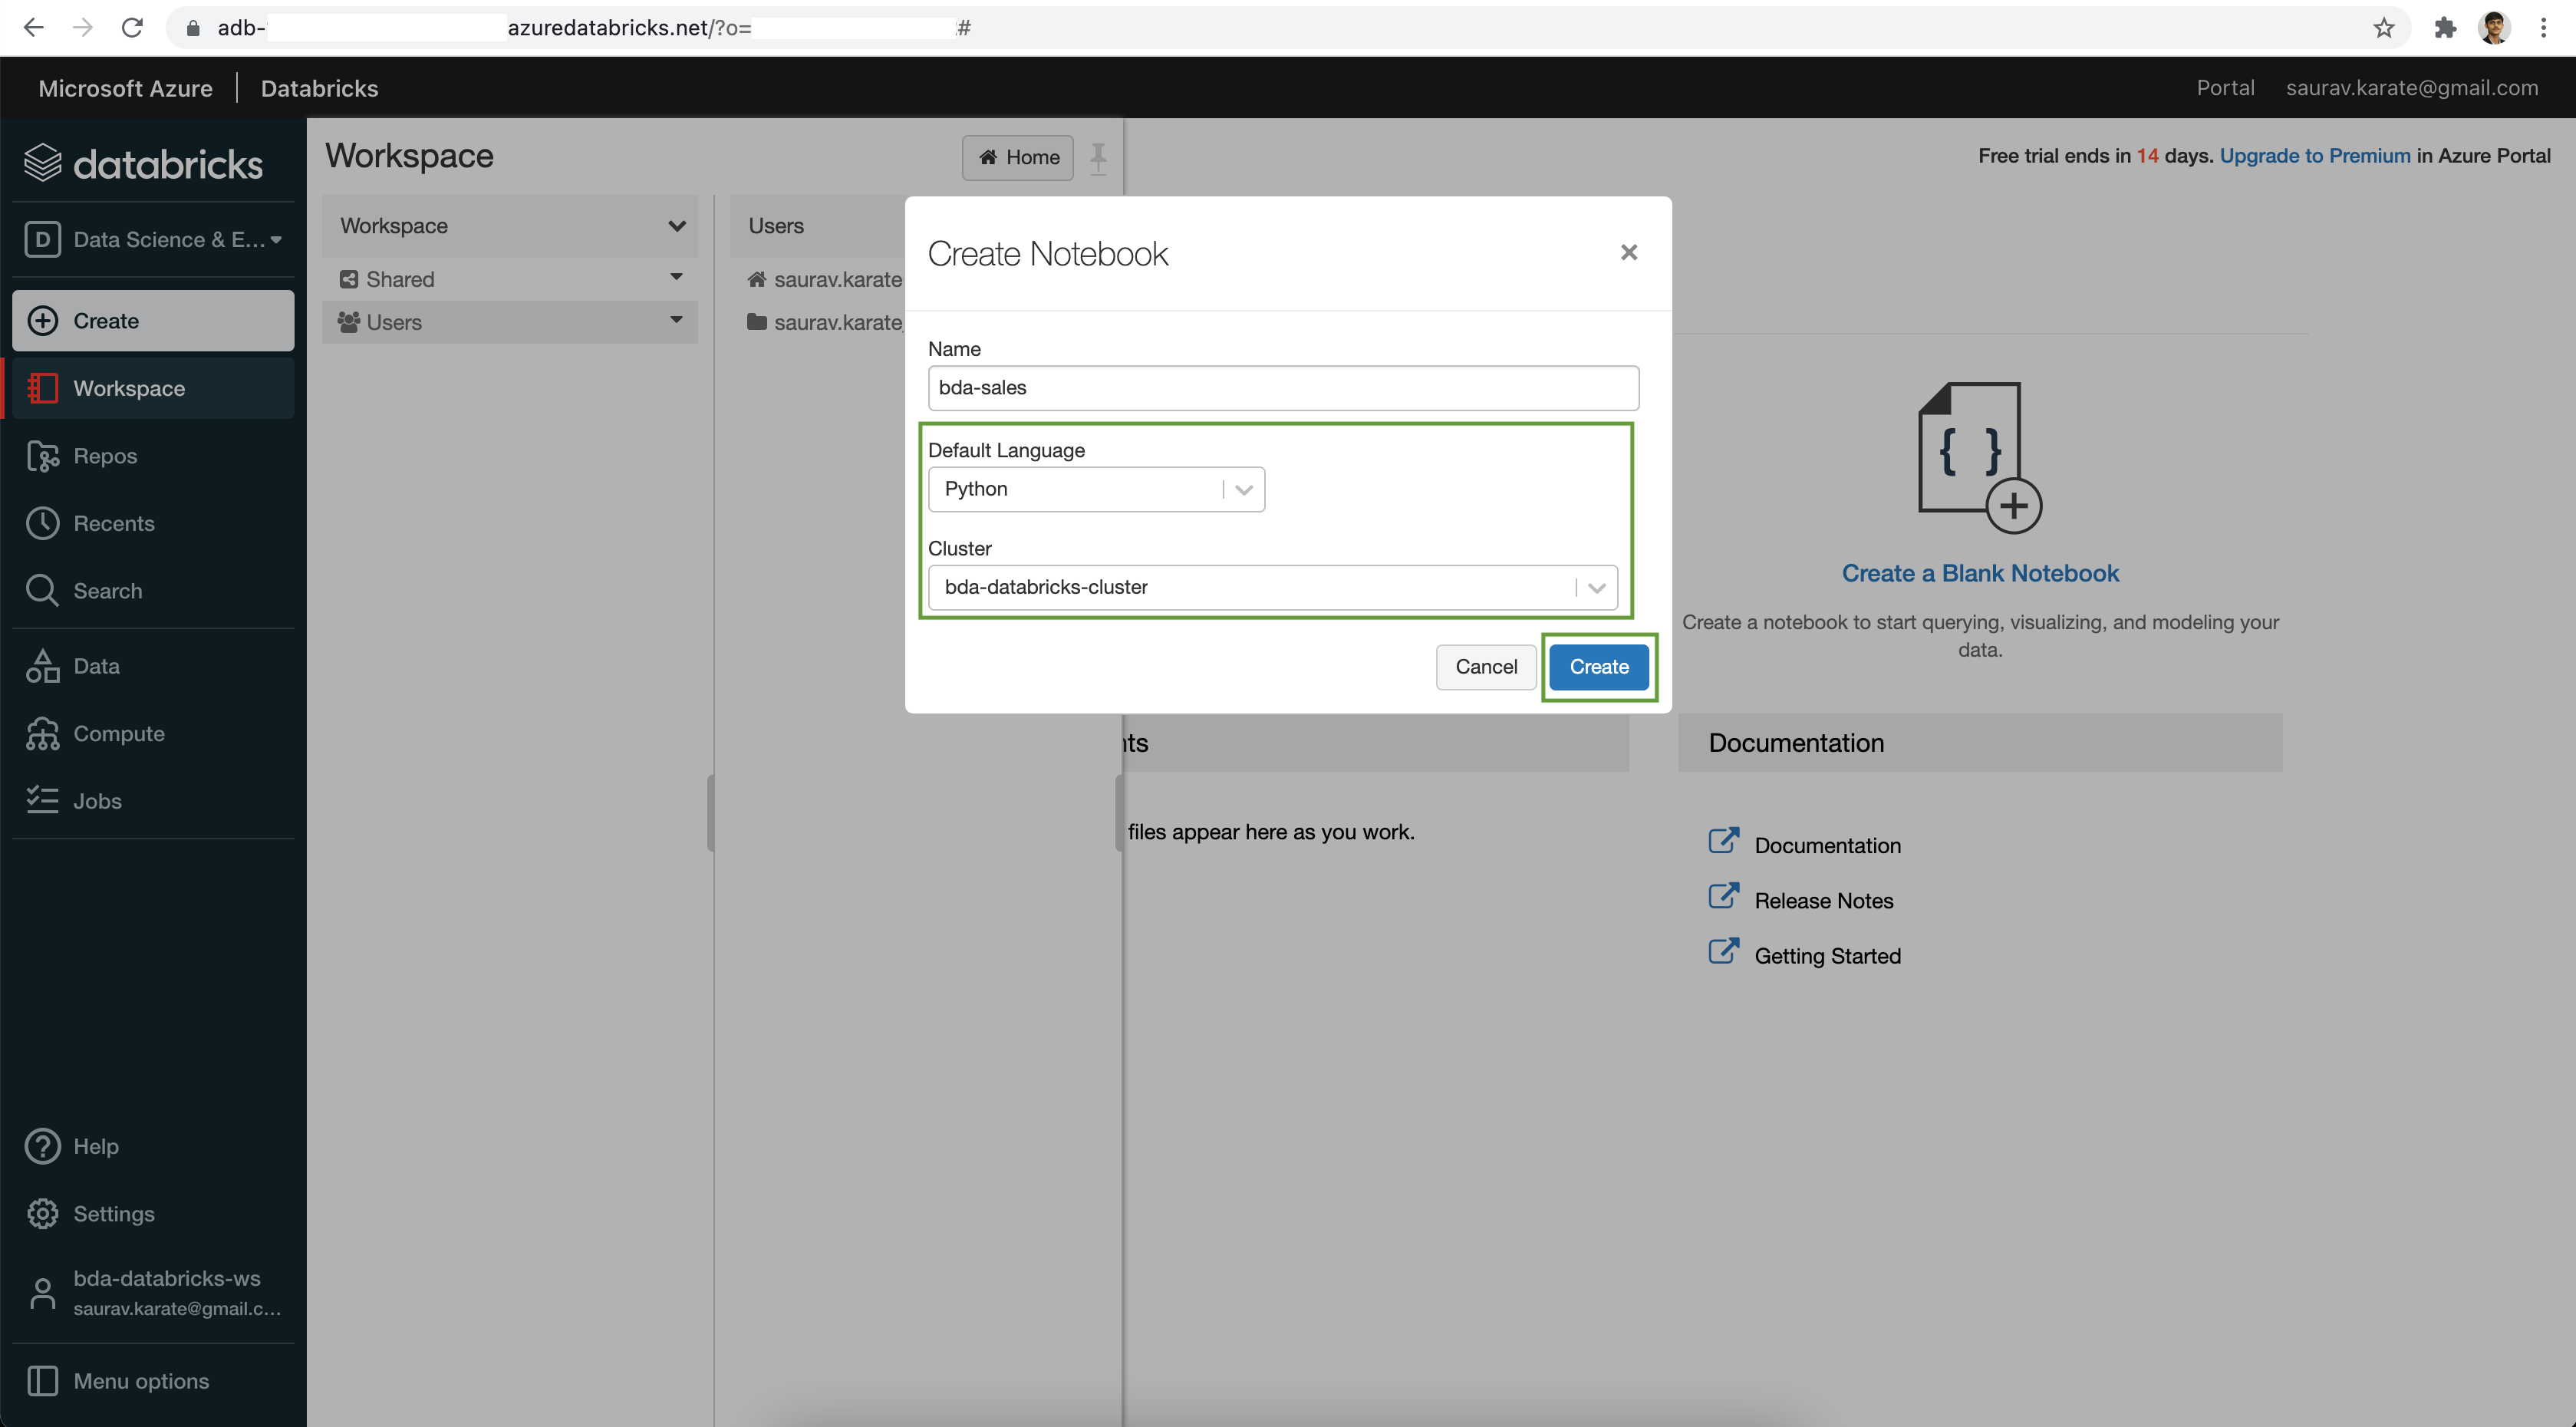
Add Cells as required.
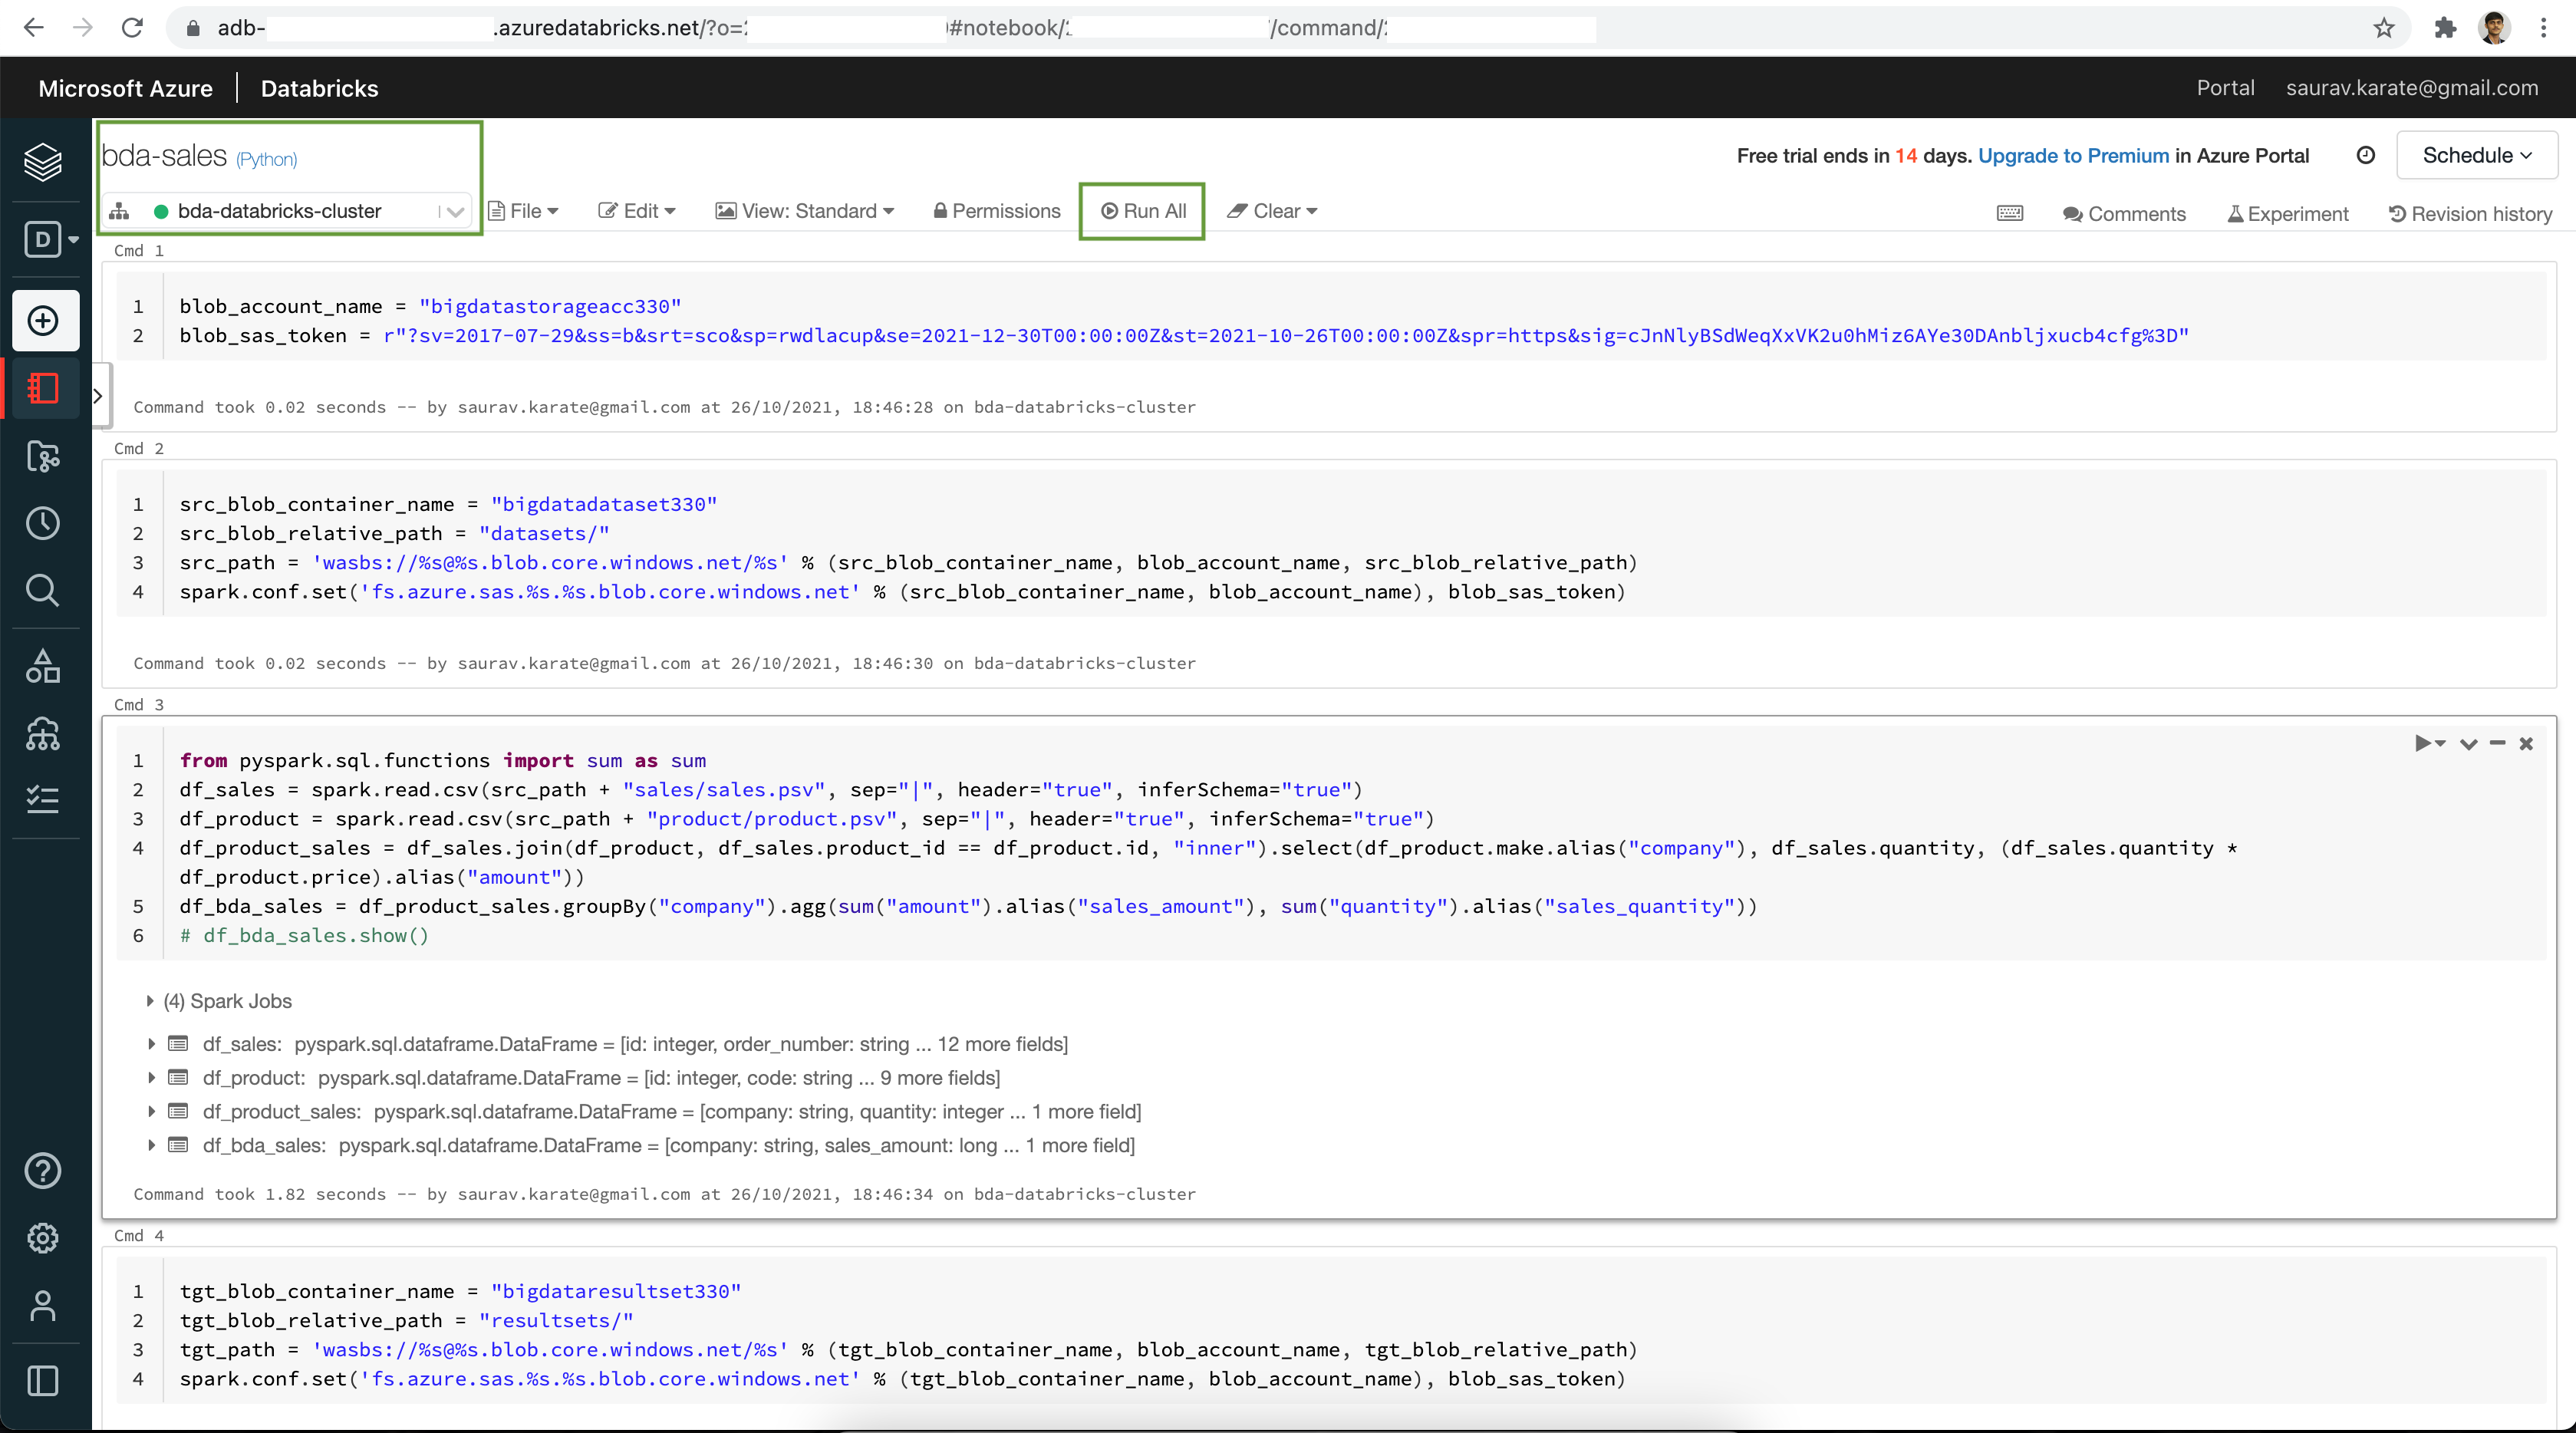
Set name of your Azure Blob Storage Account & Shared Access Signature.
blob_account_name = "bigdatastorageacc124"
blob_sas_token = r"?sv=2017-07-29&ss=b&srt=sco&sp=rwdlacup&se=2021-12-30T00:00:00Z&st=2021-10-26T00:00:00Z&spr=https&sig=...."
Set Source Container name, Path & Spark Config
src_blob_container_name = "bigdatadataset124"
src_blob_relative_path = "datasets/"
src_path = 'wasbs://%s@%s.blob.core.windows.net/%s' % (src_blob_container_name, blob_account_name, src_blob_relative_path)
spark.conf.set('fs.azure.sas.%s.%s.blob.core.windows.net' % (src_blob_container_name, blob_account_name), blob_sas_token)
# print('Remote blob path: ' + src_path)
Read Blob Data files using Spark Dataframe. Analyze datset.
from pyspark.sql.functions import sum as sum
df_sales = spark.read.csv(src_path + "sales/sales.psv", sep="|", header="true", inferSchema="true")
df_product = spark.read.csv(src_path + "product/product.psv", sep="|", header="true", inferSchema="true")
df_product_sales = df_sales.join(df_product, df_sales.product_id == df_product.id, "inner").select(df_product.make.alias("company"), df_sales.quantity, (df_sales.quantity * df_product.price).alias("amount"))
df_bda_sales = df_product_sales.groupBy("company").agg(sum("amount").alias("sales_amount"), sum("quantity").alias("sales_quantity"))
# df_bda_sales.show()
Set Target Container name, Path & Spark Config
tgt_blob_container_name = "bigdataresultset124"
tgt_blob_relative_path = "resultsets/"
tgt_path = 'wasbs://%s@%s.blob.core.windows.net/%s' % (tgt_blob_container_name, blob_account_name, tgt_blob_relative_path)
spark.conf.set('fs.azure.sas.%s.%s.blob.core.windows.net' % (tgt_blob_container_name, blob_account_name), blob_sas_token)
# print('Remote blob path: ' + tgt_path)
Write Result set to Azure Blob Storage
(df_bda_sales.coalesce(1).write.mode("overwrite").option("header", "true").format("com.databricks.spark.csv").save(tgt_path + "bda_sales"))Click on the Run All button at the top of the Notebook.
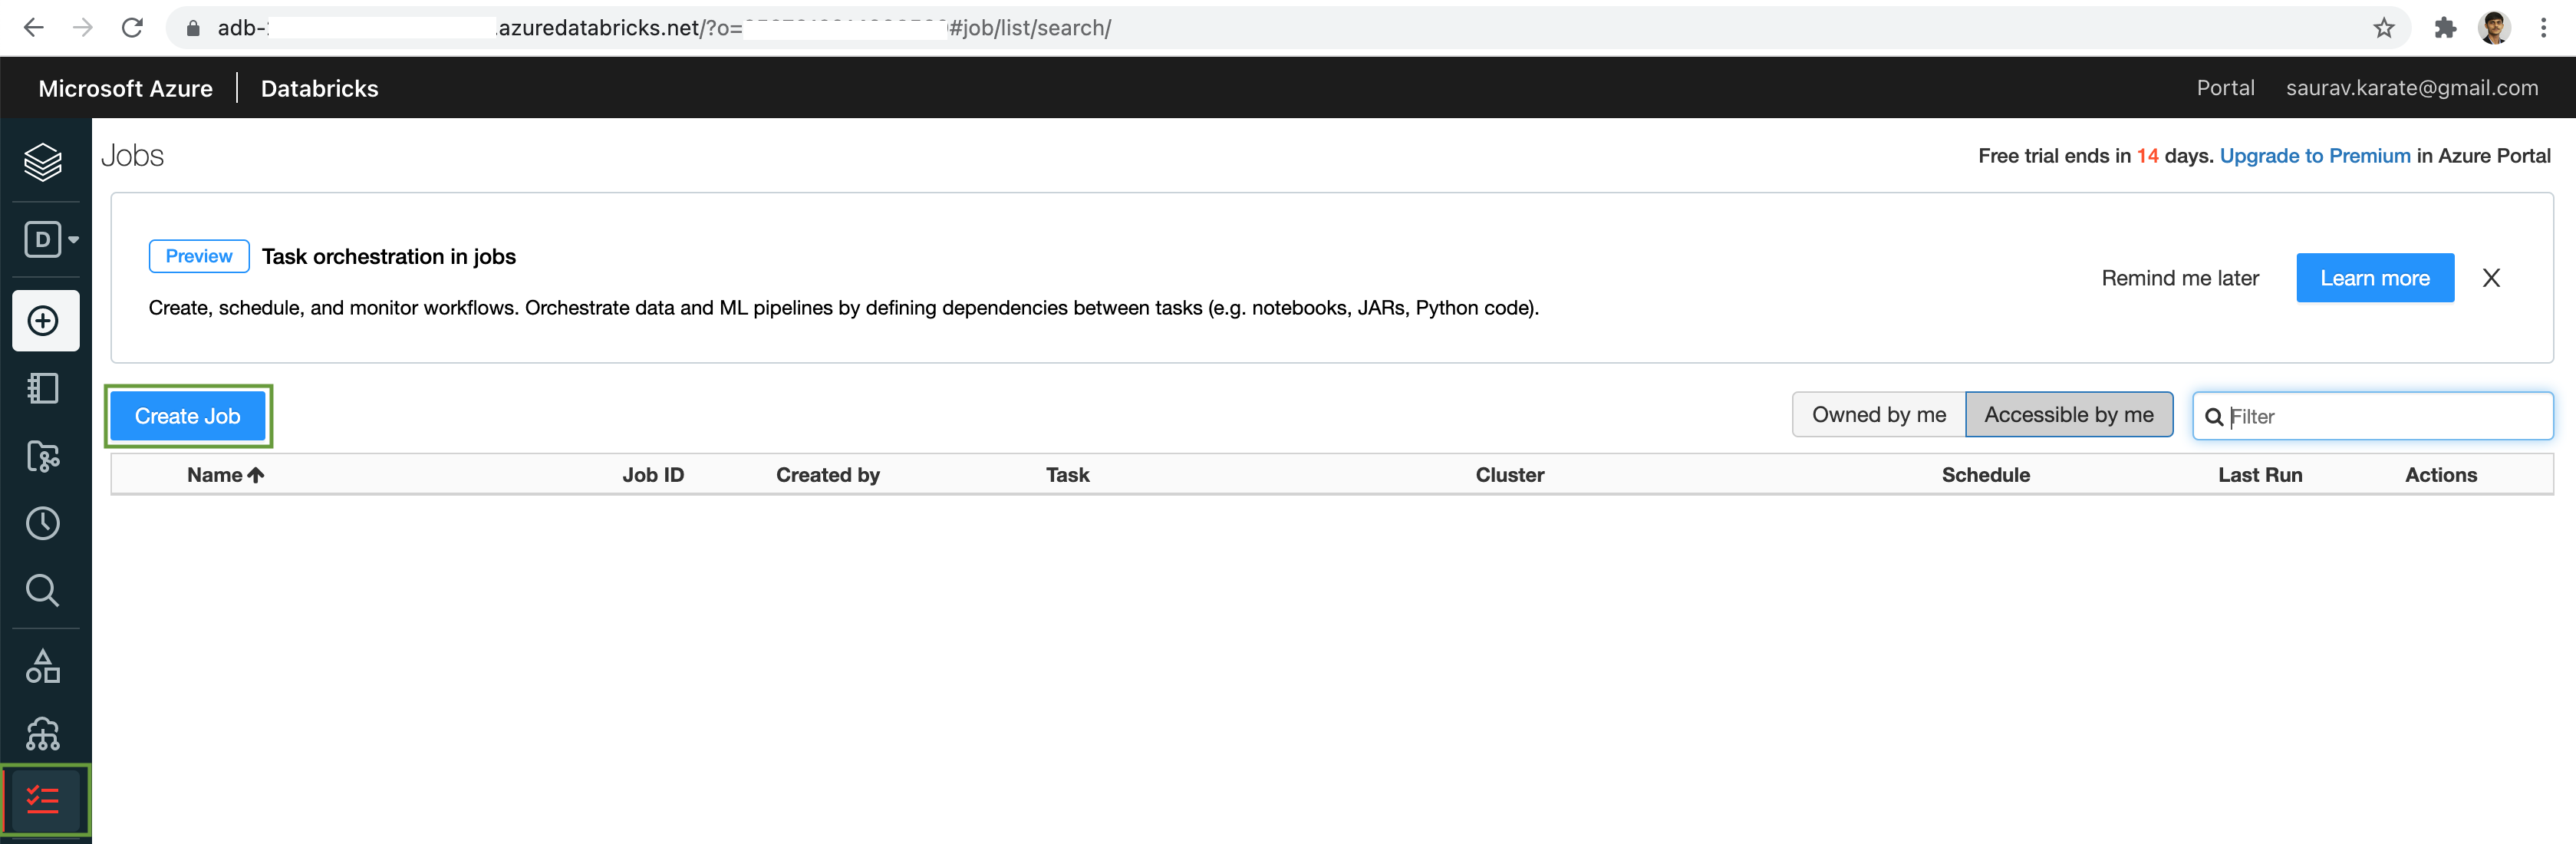
Next we will create a Databricks Job & Execute on demand or Schedule our Notebook as a Task.
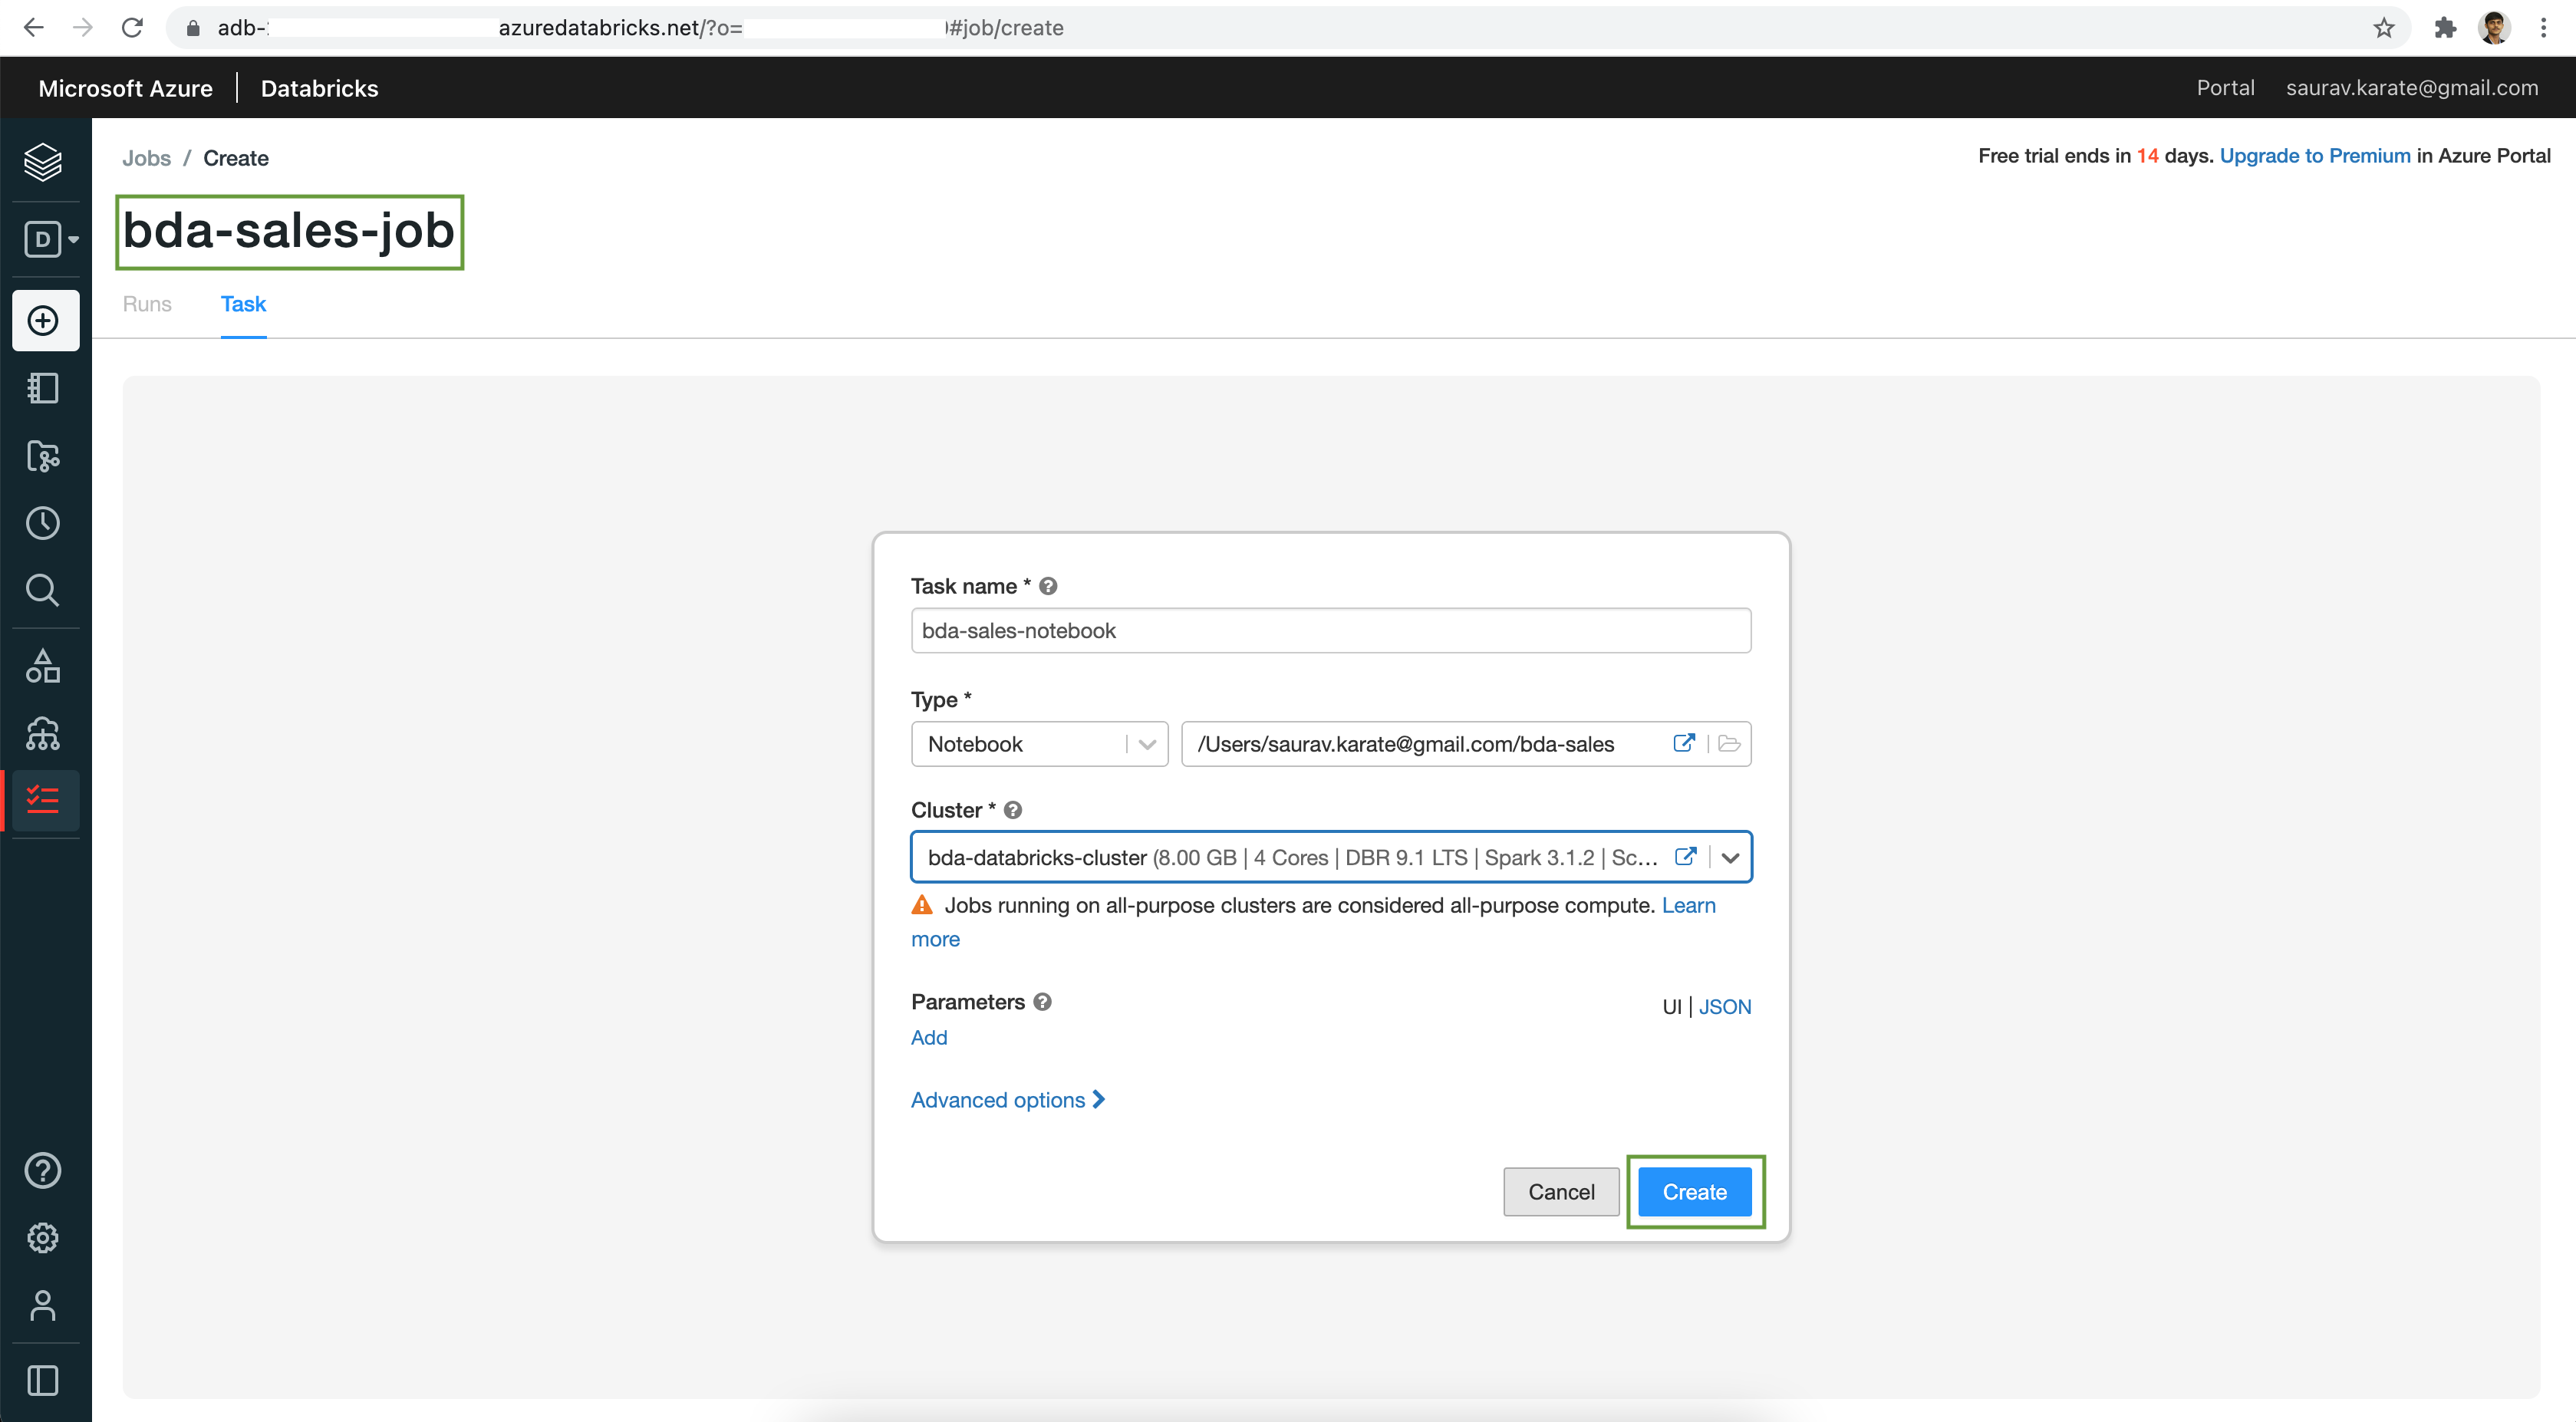
Add a Job Name. A Job can have one or many dependent tasks. Next add a Task Name and set the Type as Notebook. Browse & select the Notebook we created. From the Cluster dropdown select the existing Cluster we created earlier. Next Click on the Create button.
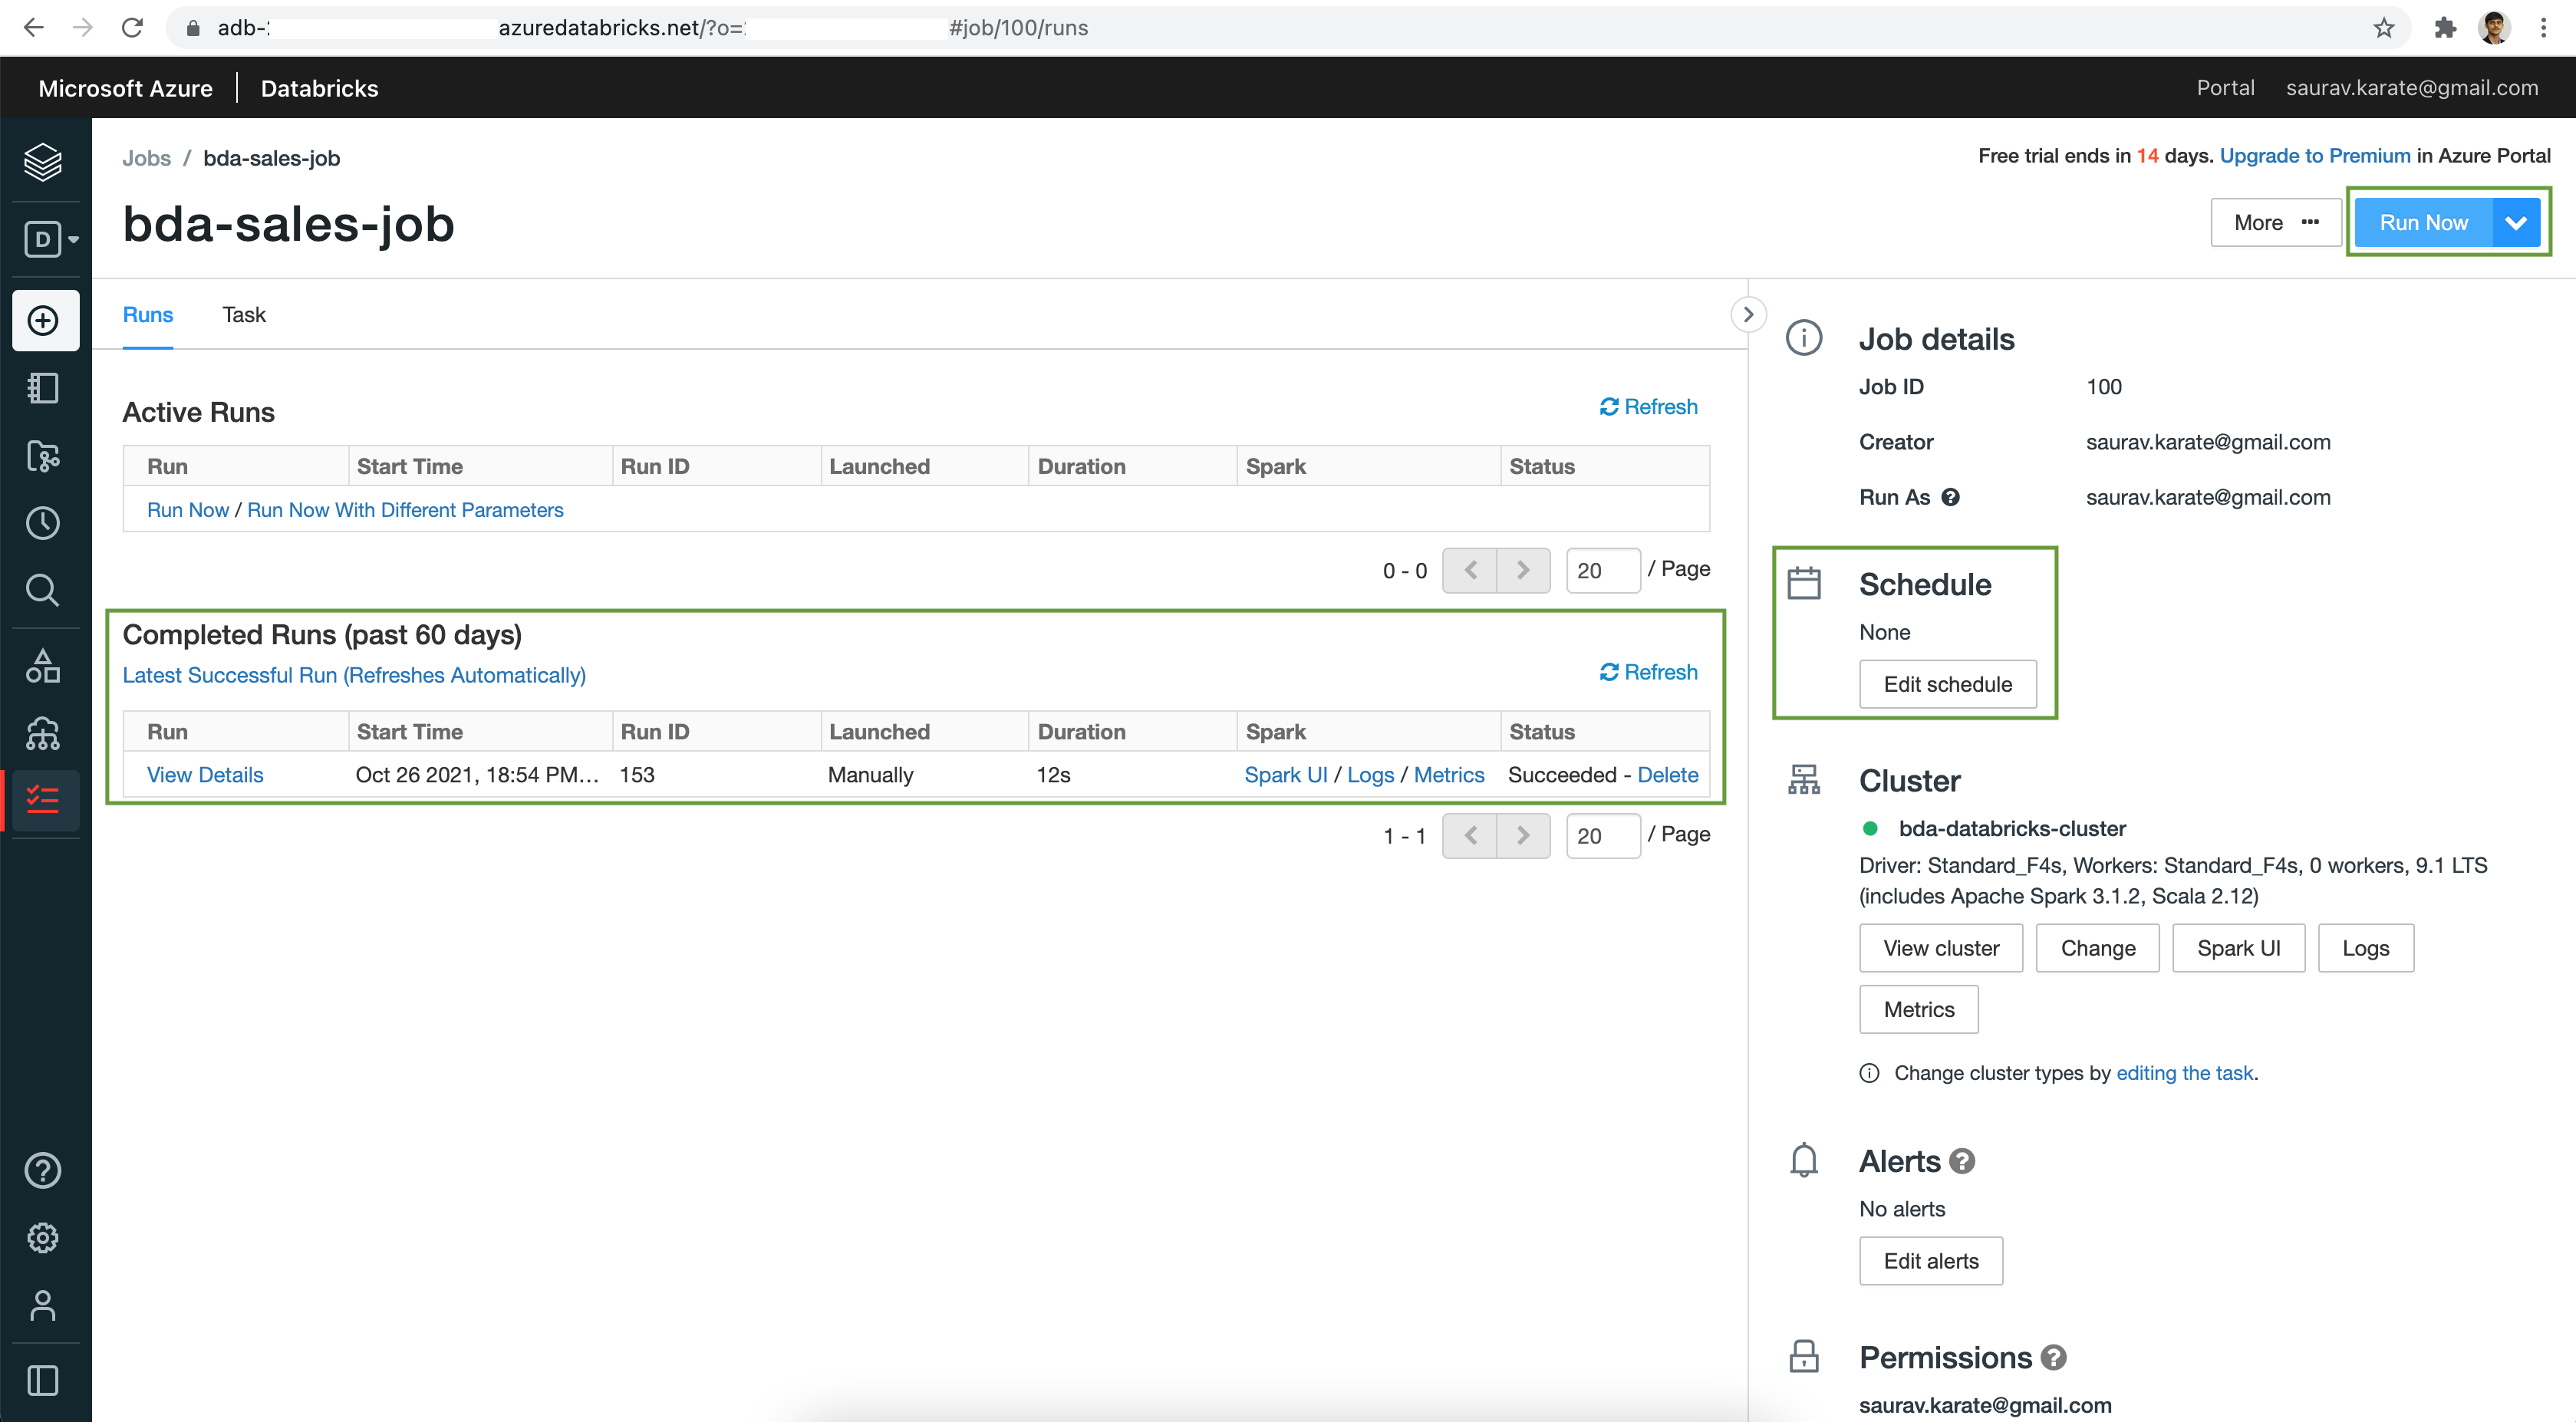
Once the Job is created, Click on the Run Now button to execute our Job.
Finally after the analytics job run, verify the results in Azure Storage Container.